1-click AWS Deployment 1-click Azure Deployment
Overview
Windows Process Heat Map, its third free monitoring tool delivered for overburdened IT professionals in the last three months. Windows Process Map provides an at-a-glance heat map, so system administrators can quickly identify potential CPU usage spikes that can negatively impact server performance.
With Windows Process Heat Map, system administrators can easily identify problematic processes, eliminating time wasted from logging into each Windows server and drilling down to troubleshoot.”
Windows Process Heat Map empowers IT professionals to:
- Monitor CPU and memory resource usage of Windows processes
- Drill down from parent to isolate sibling process utilization
- Quickly identify which processes are consuming the most resources
- Simple heat map view for easy problem identification
Windows Process Heat Map on cloud For AWS
Features
Major Features of Windows Process Heat Map
Monitor Windows Processes
See which Windows processes are consuming the most CPU and memory resources so you know which ones to investigate further or kill to improve server performance.
Simple Heat Map View
The at-a-glance heat map view makes it easy to spot excessive CPU utilization.
Investigate Parent and Sibling Processes
Use the hierarchical view to see resource consumption of parent processes at the server level. Drill down into parent process to see resource consumption of sibling processes to better pinpoint the high resource consumers.
Simple Installation, No Agents Required
Install and configure in minutes with no agents to impact performance.
AWS
Installation Instructions For Windows
Note: How to find PublicDNS in AWS
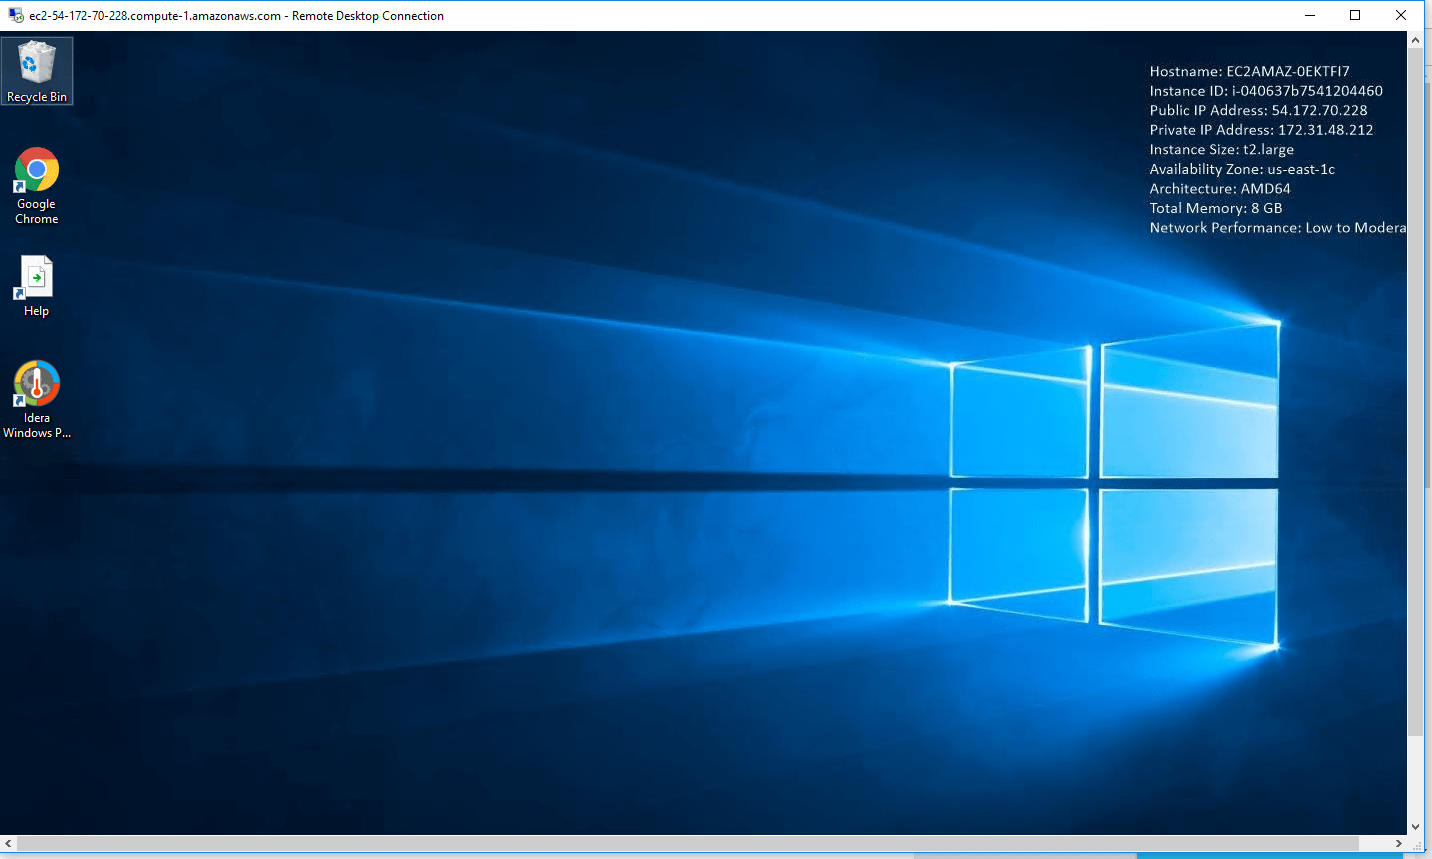
Step 1) RDP Connection: To connect to the deployed instance, Please follow Instructions to Connect to Windows instance on AWS Cloud
Connect to the virtual machine using following RDP credentials:
- Hostname: PublicDNS / IP of machine
- Port : 3389
Username: To connect to the operating system, use RDP and the username is Administrator.
Password: Please Click here to know how to get password .
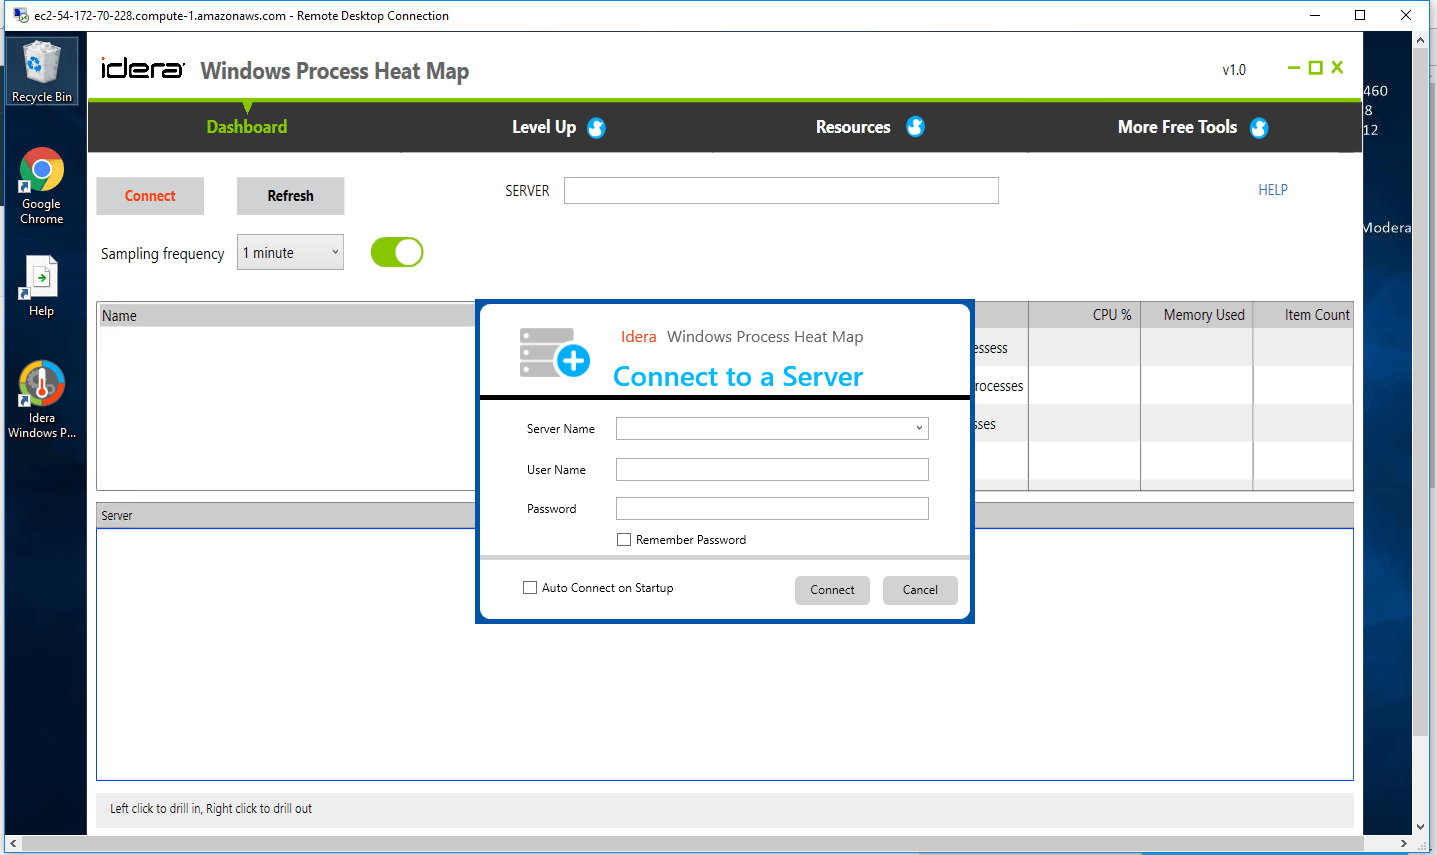
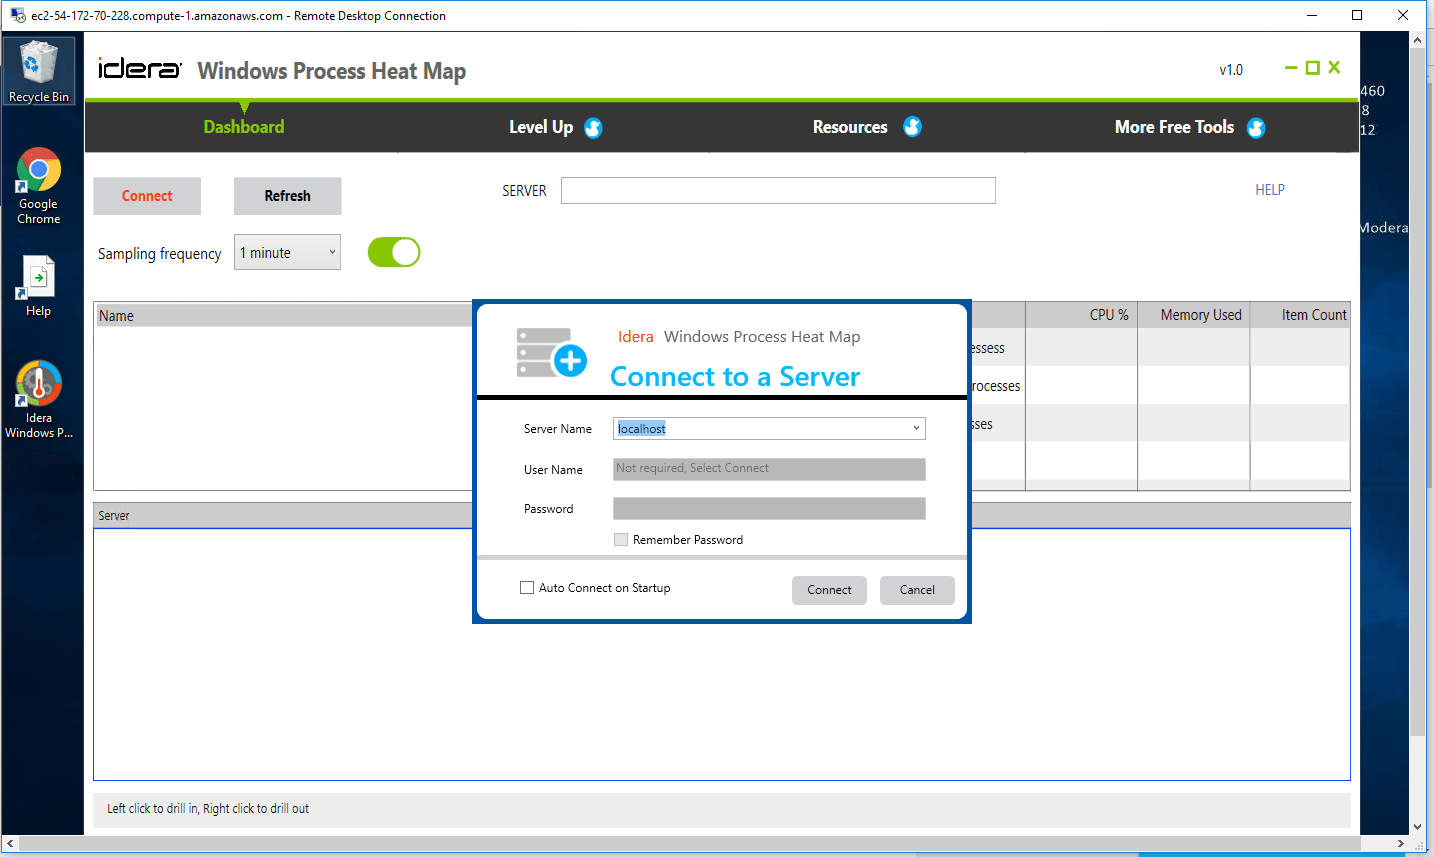
Step 2) On the Start page, type Windows Process Heat Map and then click on Windows Process Heat Map
Step 3) Other Information:
1.Default installation path: will be in your root folder “C:\Program Files\Idera\Idera Windows Process Heat Map\”
2.Default ports:
- Windows Machines: RDP Port – 3389
- Http: 80
- Https: 443
Configure custom inbound and outbound rules using this link
Installation Step by Step Screenshots