Jewellery Online Shopping Store is uniquely caters to the needs of jewellery shops, online jewellery retailers, artisanal jewelers and all related crafts and business domain. It is a clean and fresh design suitable for jewellery and related accessories to be sold to people from across the world via online stores.
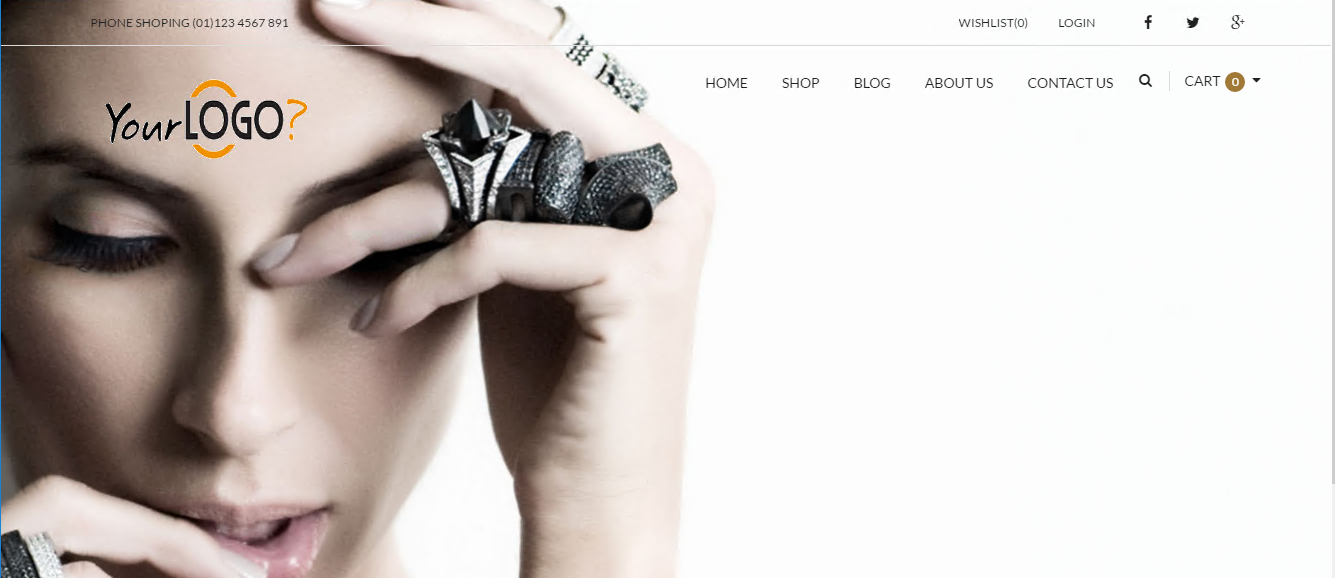
The portal inspires trust among customers and encourages sales through its flawless design.
It is both, a capable sales tool and a stylish website, offering itself perfectly to a wide variety of online audience. This design is a perfect fit for all who have an artful flair and want to set up a site for jewellery enthusiasts to enjoy the engaging shopping time spent on this site.
Features
Major Features of Jewellery Online Shopping Store
- Fully RESPONSIVE Theme
- No Core Modifications required
- Optimized for Fast Loading
- Various Portfolio Layouts
- Gallery Layouts
- Banners & Sliders
- Easy Shopping Cart Dropdown
- Compatible with all major browsers
AWS
Installation Instructions for Windows :
Step 1. RDP Connection: To connect to the operating system, connect to virtual machine using following RDP credentials-
Hostname: PublicDNS / IP of machine
Default Port : 3389
Username: To connect to the operating system, use RDP and the username is Administrator.
Password : Please Click here to know how to get password .
Step 2. Once the Virtual Machine starts, follow the given intructions on Welcome Wizard.
Step 3.
A) Application URL : Access the application via a browser at http://PublicDNS/wp-admin
B) Steps to access the Admin Panel:
- To login to Jewellery Online Shopping Store Administrative Panel, you need to open your browser and navigate to http://PublicDNS/wp-admin
- Enter username and password in the given fields and click on the“Login”button to access the Admin Panel.
- After successful login to the Admin Panel, you will get access to the Jewellery Online Shopping Store.
Step 4. Click on ‘Deployment’ button to run the installer file.
Step 5. Once you run the installer file, fill all the required details to create database and press ‘Test Connection’ button to check if the script can connect to the database.
Step 6. You’ll get a pop up box confirming you that the server is detected and the script has successfully managed to connect to the database.
Note:- If you get a ‘Fail’ remark then it implies that new database is created. If you get a ‘Success’ remark then it implies that previous database alreday exists and proceeding further shall overwrite the database. For further instructions, follow the advice under ‘Common connection issues’ or contact your ‘Hosting Provider’.
Step 7. Before proceeding, you need to check the box to confirm thay you have read all the warnings and notices, and then further click ‘Run Deployment’. You’ll get a warning reminding you that any data existing in the database will be overwritten (so cross-check again if you have entered the name of your new database and not an existing one!) which you can click OK to.
Step 8. Once above step is done you will then see the system starting to deploy the files. If you get an error, try re-uploading your archive file in case it became corrupt during the file transfer.
Step 9. After installation, click on “Save Permalinks” button and then login by given credentials. Then just click on “Save changes” button to proceed further.
Step 10. Close Permalinks window, and click on Test Site Button to browse your site.
Step 11. After all above is done, you’ll be presented with a page showing you the old and new Path and URL settings for your site. You have the opportunity to change your page title here and create a new admin user if you wish to.
Azure
Installation Instructions for Windows :
Step 1. RDP Connection: To connect to the operating system, connect to virtual machine using following RDP credentials-
Hostname: PublicDNS / IP of machine
Default Port : 3389
Username: Your chosen Username when you created the machine ( For example: Azureuser)
Password: Your Chosen Password when you created the machine ( How to reset the password if you do not remember it)
Step 2. Once the Virtual Machine starts, follow the given intructions on Welcome Wizard.
Step 3.
A) Application URL : Access the application via a browser at http://PublicDNS/wp-admin
B) Steps to access the Admin Panel:
- To login to Jewellery Online Shopping Store Administrative Panel, you need to open your browser and navigate to http://PublicDNS/wp-admin
- Enter username and password in the given fields and click on the“Login”button to access the Admin Panel.
- After successful login to the Admin Panel, you will get access to the Jewellery Online Shopping Store.
Step 4. Click on ‘Deployment’ button to run the installer file.
Step 5. Once you run the installer file, fill all the required details to create database and press ‘Test Connection’ button to check if the script can connect to the database.
Step 6. You’ll get a pop up box confirming you that the server is detected and the script has successfully managed to connect to the database.
Note:- If you get a ‘Fail’ remark then it implies that new database is created. If you get a ‘Success’ remark then it implies that previous database alreday exists and proceeding further shall overwrite the database. For further instructions, follow the advice under ‘Common connection issues’ or contact your ‘Hosting Provider’.
Step 7. Before proceeding, you need to check the box to confirm thay you have read all the warnings and notices, and then further click ‘Run Deployment’. You’ll get a warning reminding you that any data existing in the database will be overwritten (so cross-check again if you have entered the name of your new database and not an existing one!) which you can click OK to.
Step 8. Once above step is done you will then see the system starting to deploy the files. If you get an error, try re-uploading your archive file in case it became corrupt during the file transfer.
Step 9. After installation, click on “Save Permalinks” button and then login by given credentials. Then just click on “Save changes” button to proceed further.
Step 10. Close Permalinks window, and click on Test Site Button to browse your site.
Step 11. After all above is done, you’ll be presented with a page showing you the old and new Path and URL settings for your site. You have the opportunity to change your page title here and create a new admin user if you wish to.
Video

