

Start by opening the ARM Explorer website. We’ll do more than GET operations in ARM Explorer so we need to allow PUT and POST verbs by enabling write mode (it is Read Only* by default). At the top right of the site, ensure Read/Write is selected.

At the top you’ll find a search box, type the name of your virtual machine and select it from the drop down. In my case, my VM is named CaptureVMImage, yours will probably be different.

You should now see your virtual machine in the right section of the site.
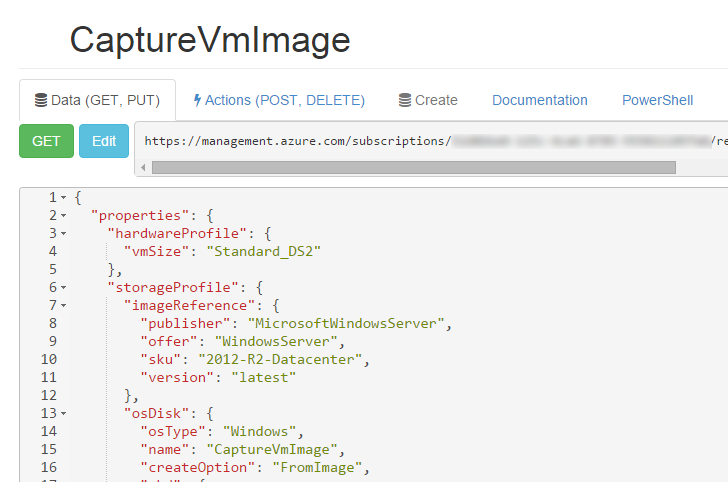
Click Actions (POST, DELETE), you’ll see a lot of action that you can perform on your virtual machine…
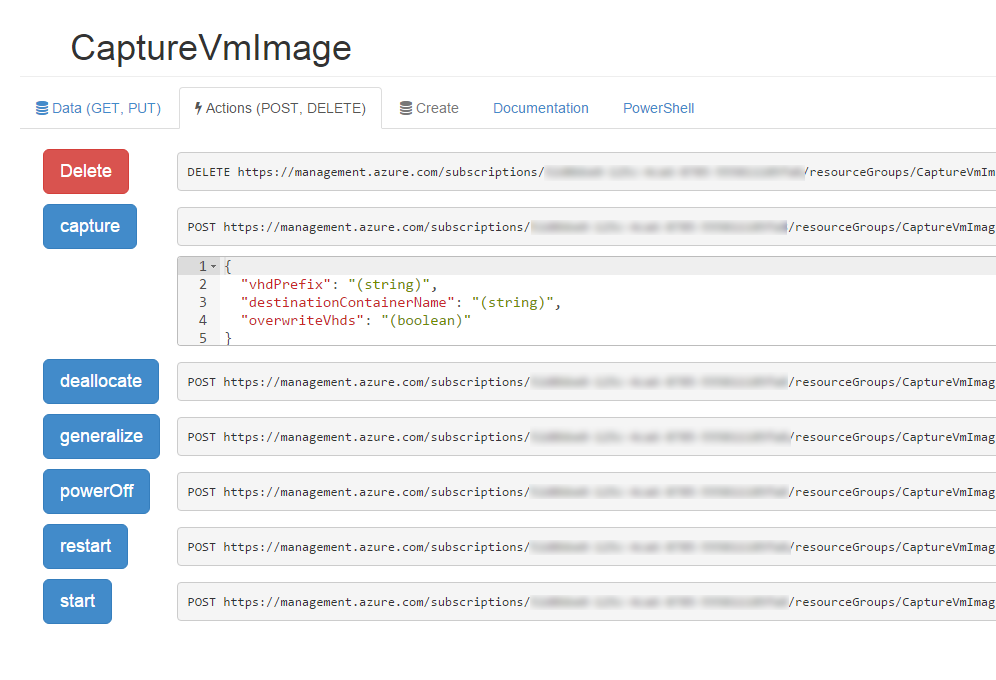
- Click the Deallocate button

- The status of the VM should go from
StoppedtoUpdatingtoStopped (deallocated). - Now that your VM is deallocated, Click the Generalize button

Your VM OS State should now be marked as OS State/generalized.
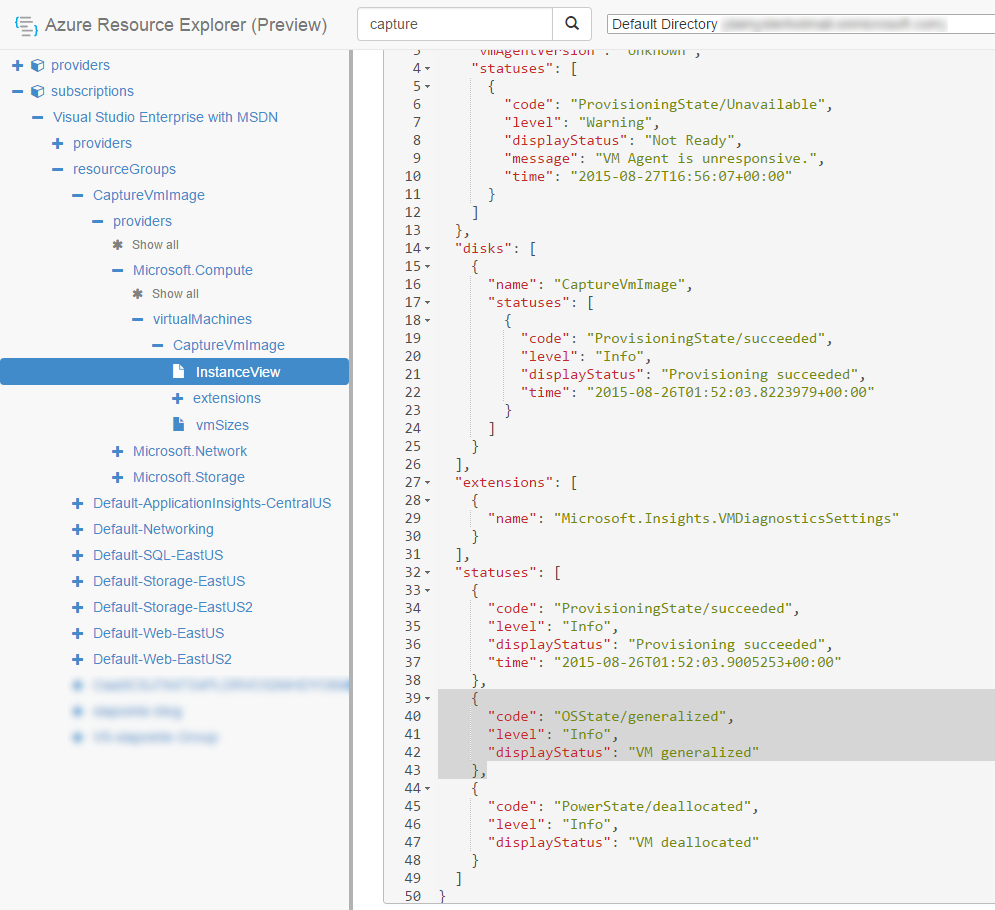
{
  "code": "OSState/generalized",
  "level": "Info",
  "displayStatus": "VM generalized"
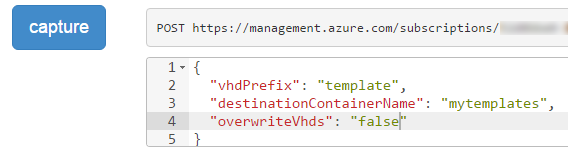
}- Still in the Actions (POST, DELETE) section, scroll to the capture operation and fill the required information:
{ "vhdPrefix": "template", "destinationContainerName": "mytemplates", "overwriteVhds": "false" }
Click the Capture button
Capture is done, what’s next?
Your image will now be ready in a minute or two! Jump to Capture is done, what’s next?
Create your Virtual machine
The very first step is to actually create a Windows Server virtual machine from the portal with everything you want on it (I’ll be using a Windows Server 2012 R2 VM). If you need help on this, you can check theCreate a virtual machine running Windows in the Azure portal link in the Resources section.
Now the part that interest us… Creating a generalized VM image.
Prerequisites
- Microsoft Azure PowerShell <= v0.9.xxx OR Microsoft Azure PowerShell >= v1.0.xxx
- A virtual machine in Azure running Windows Server 2012 or later
Prepare your virtual machine
Now that your VM is ready and customized the way you want, you are ready to transform it as a VM image. To do so, you need a tool called sysprep. Be sure to be logged in your Windows Server VM on Azure, open a PowerShell window and execute the following :
& "$Env:SystemRoot\system32\sysprep\sysprep.exe" /generalize /oobe /shutdown


You will see a dialog telling you that Sysprep is working, it will take at least 2-3 minutes.
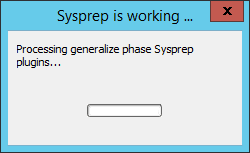
The /shutdown parameter will shutdown the VM when sysprep is done generalizing the VM.
Allow a minute or two so that you can see that your VM status is really marked as stopped in the portal.
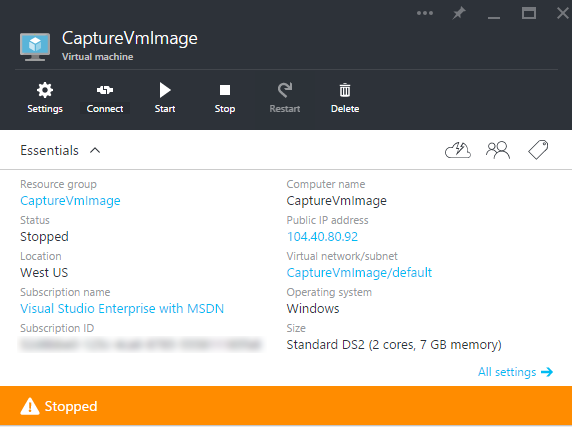
Capture is done, what’s next?
There is a bug in the actual implementation of the capture call. Whatever you specify in theDestinationContainerName it will save the image under a container named System in the storage account with a blob path containing the name you specified as the container name.
This is an example of what you can expect as full path (yours will be a bit different depending on the parameter values you entered):https://vmcapturedemo.blob.core.windows.net/system/Microsoft.Compute/Images/mytemplates/template-osDisk.c2a2a4e3-a2cb-44f1-9d55-921dfa29b314.vhd
If everything went well during the capture phase you’ll have 2 new files in your storage account, a VHD file and an ARM template that was generated for you. This template is not usable as-is except if you already have a NIC that you can use, but you have all the information in it as to how to declare a virtual machine to use your custom VM image.
Capture VM image with ARM Explorer