1-click AWS Deployment 1-click Azure Deployment 1-click Google Deployment
Overview
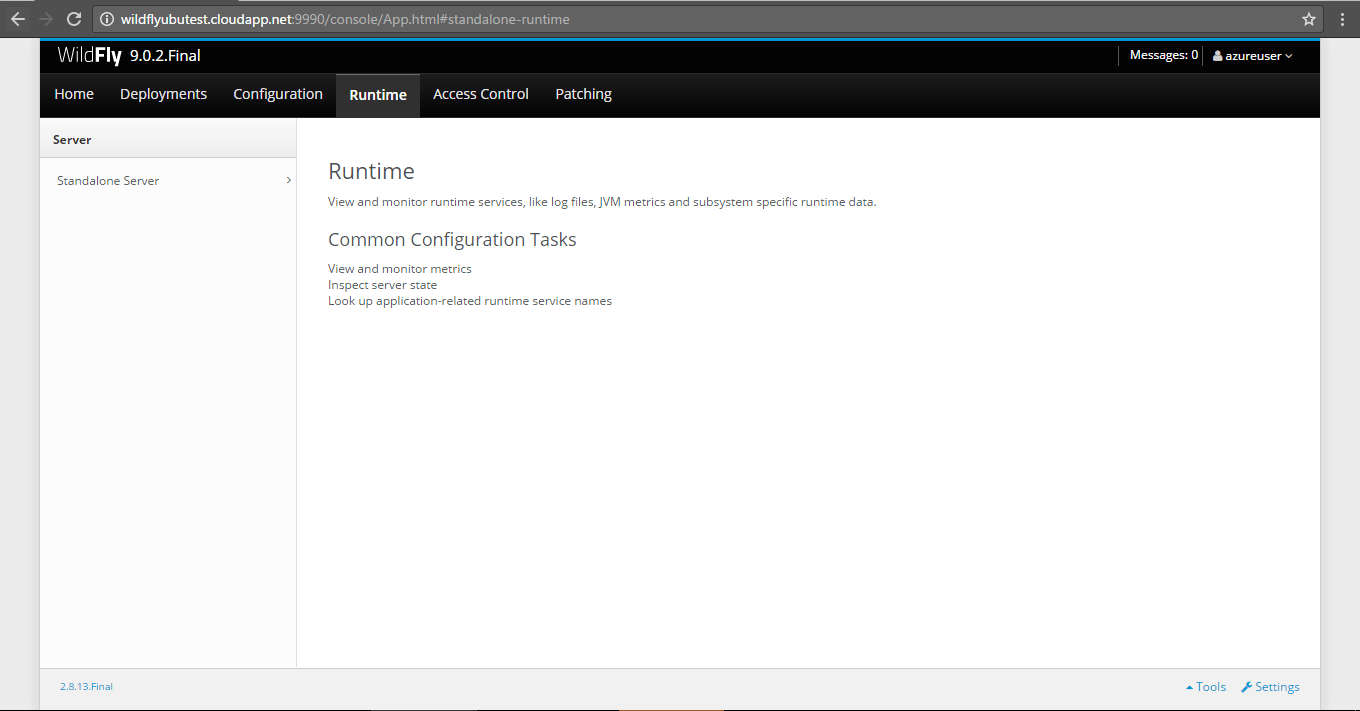
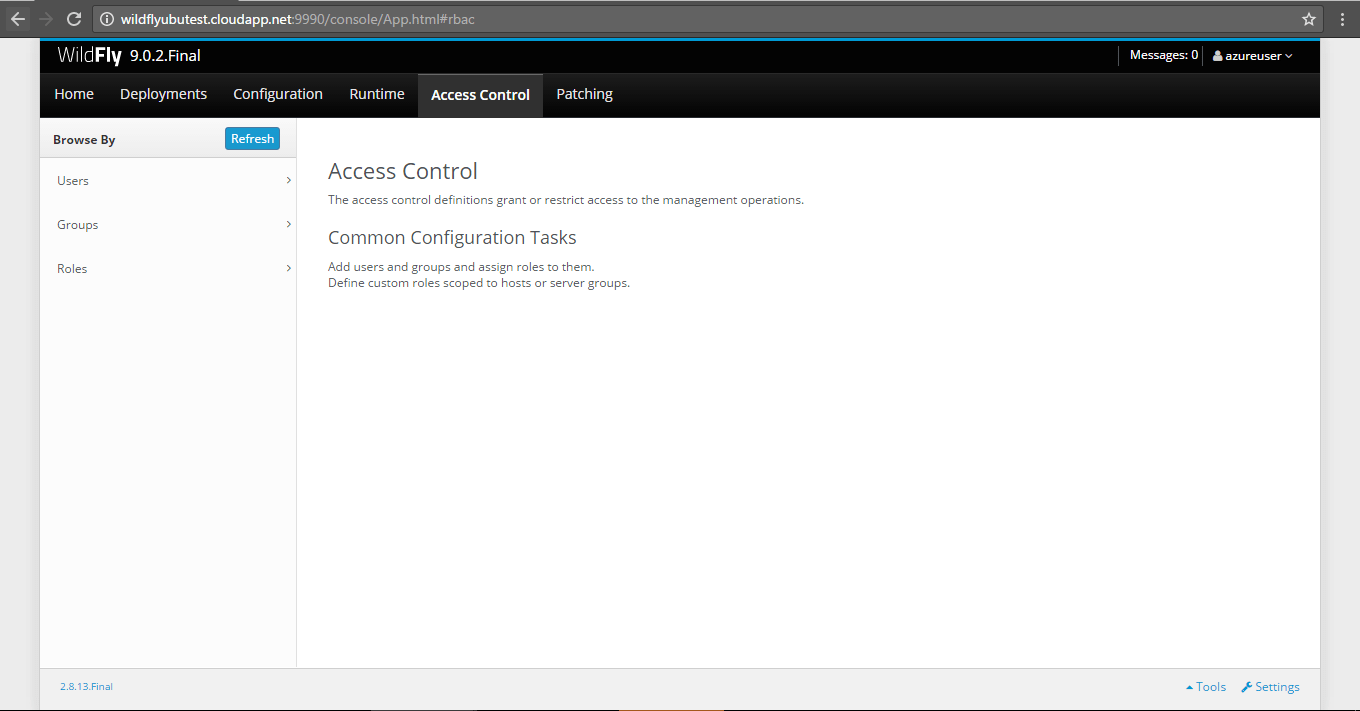
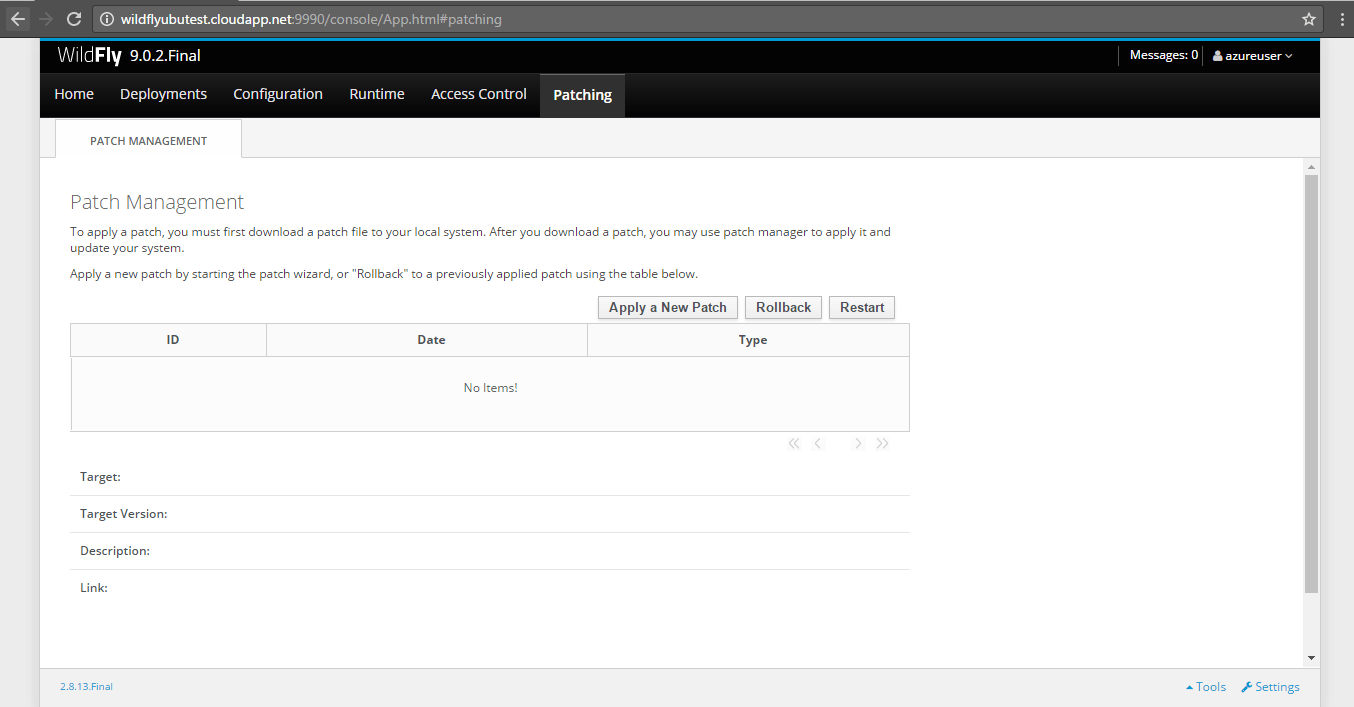
WildFly is a flexible, lightweight, managed application runtime that helps you build amazing applications.WildFly, formerly known as JBoss AS, or simply JBoss, is an application server authored by JBoss, now developed by Red Hat. WildFly is written in Java and implements the Java Platform, Enterprise Edition (Java EE) specification.
WildFly on Cloud runs on Amazon Web Services (AWS) and Azure and is built to run on multiple platforms.
WildFly is owned by WildFly (http://wildfly.org/) and they own all related trademarks and IP rights for this software.
Cognosys provides hardened images of WildFly on all public cloud i.e. AWS marketplace and Azure.
WildFly is free and open-source software, subject to the requirements of the GNU Lesser General Public License (LGPL), version 2.1.
Secured WildFly on Ubuntu 14.04 LTS
WildFly on cloud For Azure
Features
Major Features of WildFly
1. Unparalleled Speed: Fast Startup, Ultimate Web Performance & Scalability
2. Exceptionally Lightweight: Memory Diet, Slimable / Customizable Runtime
3. Powerful Administration: Unified configuration & Management, Domain & Standalone Management.
4. Easily Testable: Arquillian, Smarter Development
Azure
Installation Instructions For Ubuntu
Note : How to find PublicDNS in Azure
Step 1) SSH Connection: To connect to the deployed instance, Please follow Instructions to Connect to Ubuntu instance on Azure Cloud
1) Download Putty.
2) Connect to virtual machine using following SSH credentials:
- Hostname: PublicDNS / IP of machine
- Port : 22
Username: Your chosen username when you created the machine ( For example: Azureuser)
Password : Your Chosen Password when you created the machine ( How to reset the password if you do not remember)
Step 2) Database Login Details:
Username : root || Password : Passw@rd123
Note: Please change the password immediately after the first login.
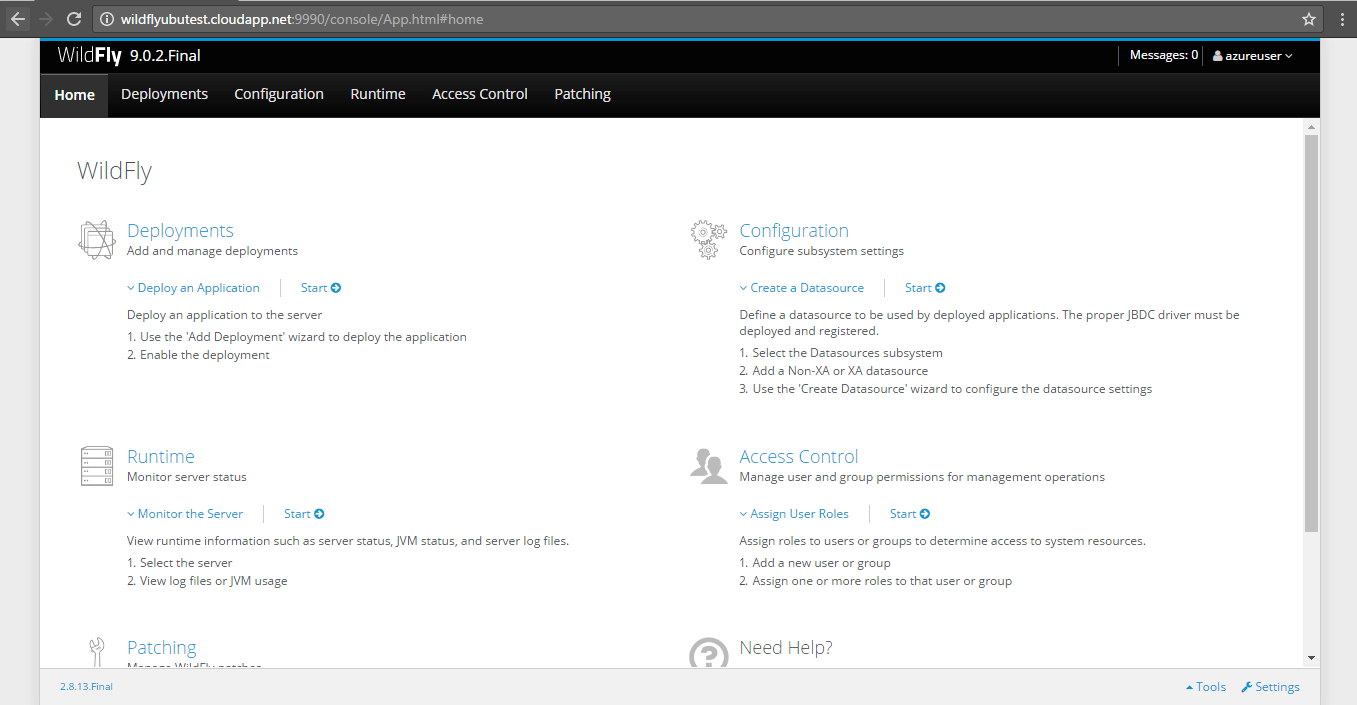
Step 3) Application URL: Access the application via a browser at http://PublicDNS
Step 4) Other Information:
1. Default installation path: will be on your web root folder “/opt/wildfly”.
2. Default ports:
- Linux Machines: SSH Port – 22
- Http: 80
- Https: 443
- MySQL ports: By default these are not open on Public Endpoints. MySQL :3306
Configure custom inbound and outbound rules using this link
3. To access Webmin interface for management please follow this link
Installation Instructions For Centos
Note : How to find PublicDNS in Azure
Step 1) SSH Connection: To connect to the deployed instance, Please follow Instructions to Connect to Centos instance on Azure Cloud
1) Download Putty.
2) Connect to virtual machine using following SSH credentials:
- Hostname: PublicDNS / IP of machine
- Port : 22
Username: Your chosen username when you created the machine ( For example: Azureuser)
Password : Your Chosen Password when you created the machine ( How to reset the password if you do not remember)
Step 2 )Database Login Details:
Username : root || Password : Passw@rd123
Please change the password immediately after the first login.
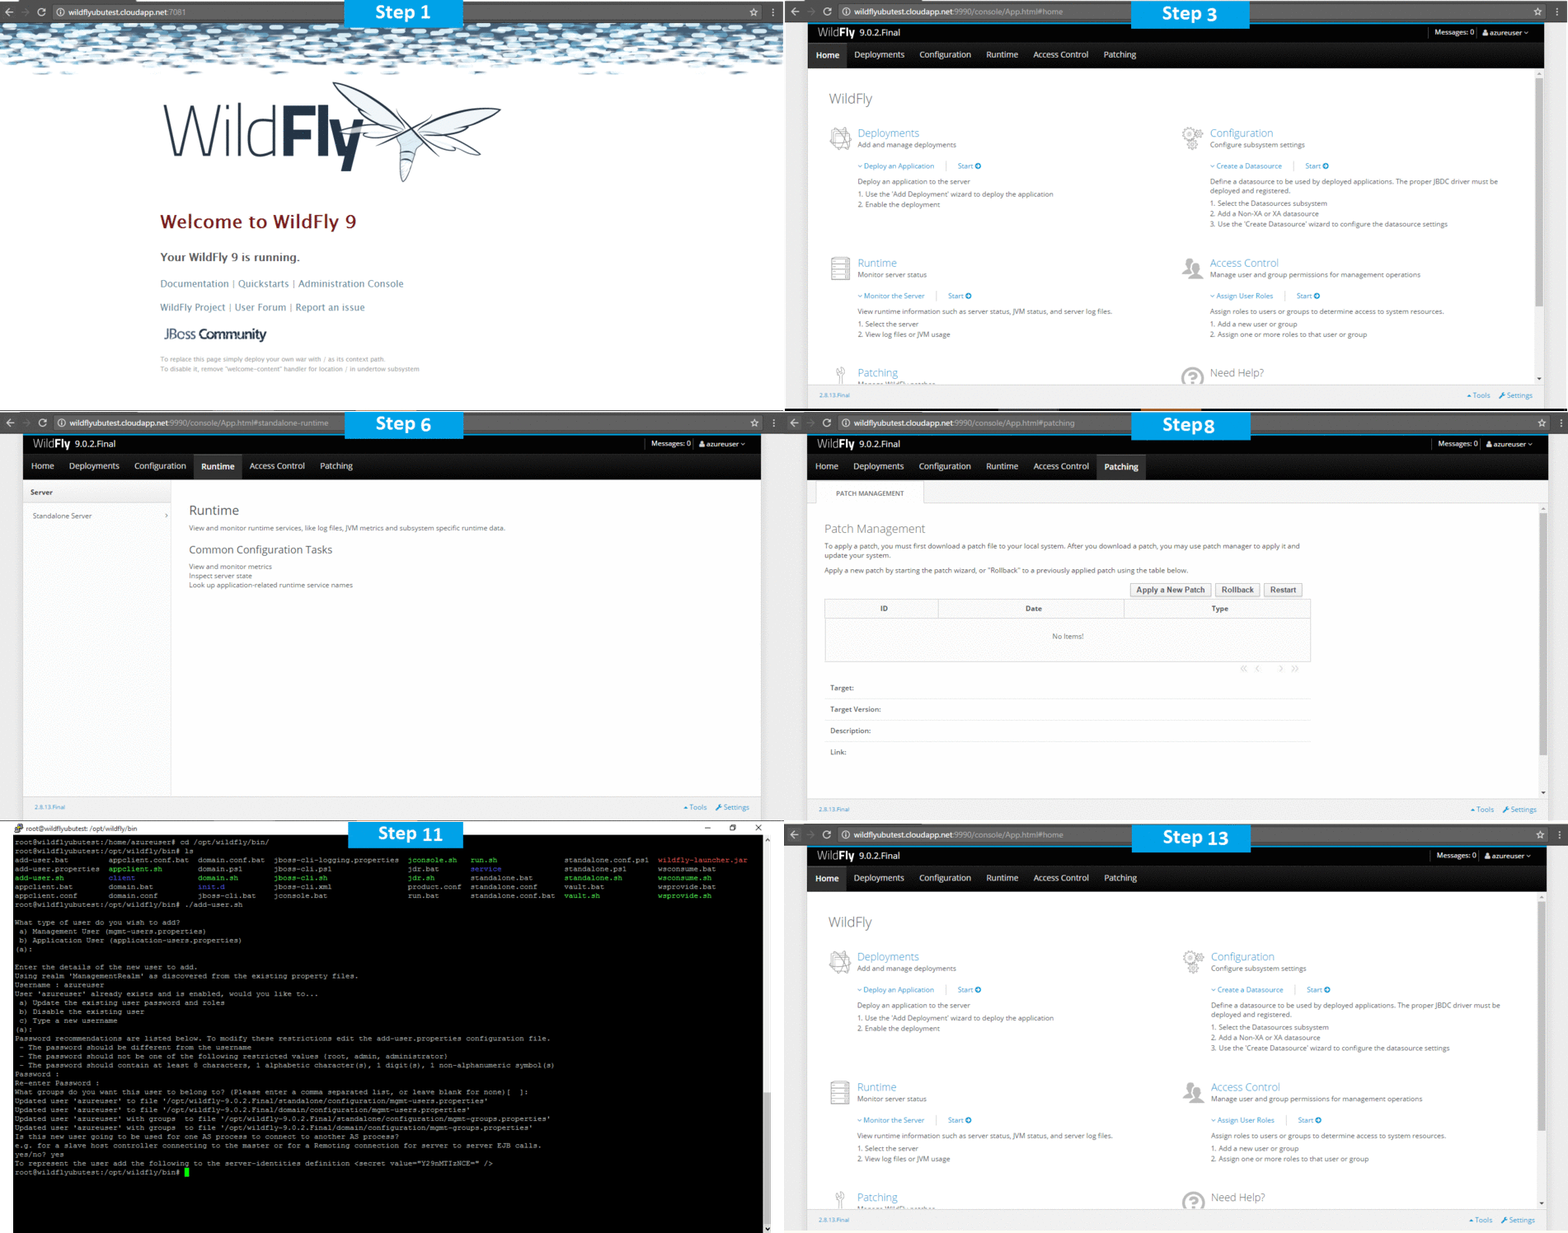
Step 3 ) Application URL: Access the application via a browser at http://PublicDNS:28080.
Step 4 )Other Information:
1. Default installation path: will be on your web root folder “/opt/wildfly”.
2. Default ports:
- Linux Machines: SSH Port – 22 or 2222
- Http: 80 or 8080
- Https: 443
- MySQL ports: By default these are not open on Public Endpoints. MySQL :3306
Configure custom inbound and outbound rules using this link
3. To access Webmin interface for management please follow this link
Azure Step by Step Screenshots

Installation Instructions For Ubuntu
Installation Instructions for Ubuntu
Step 1) VM Creation:
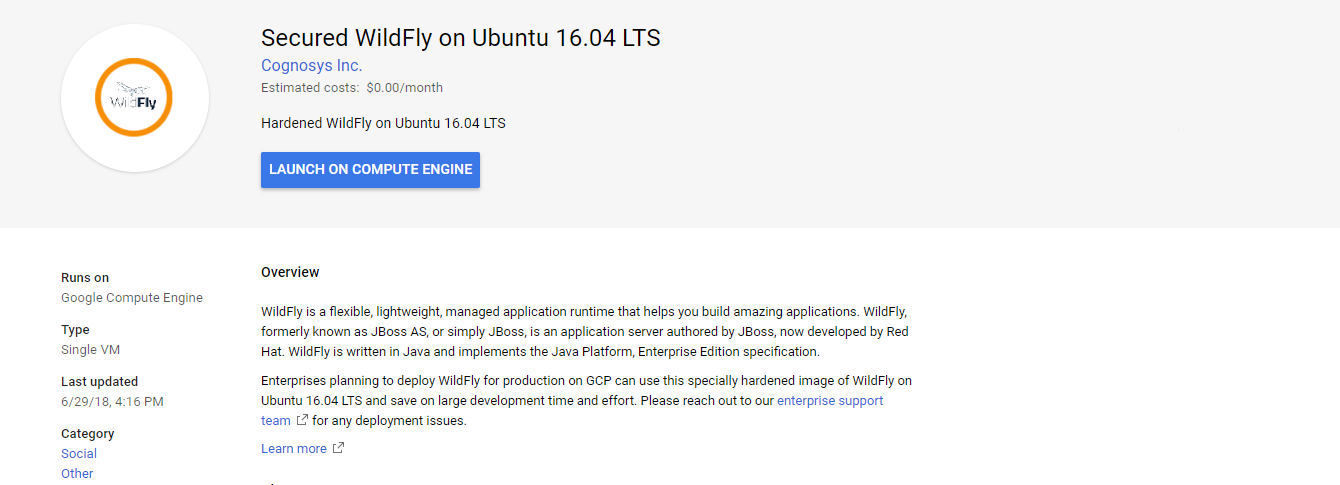
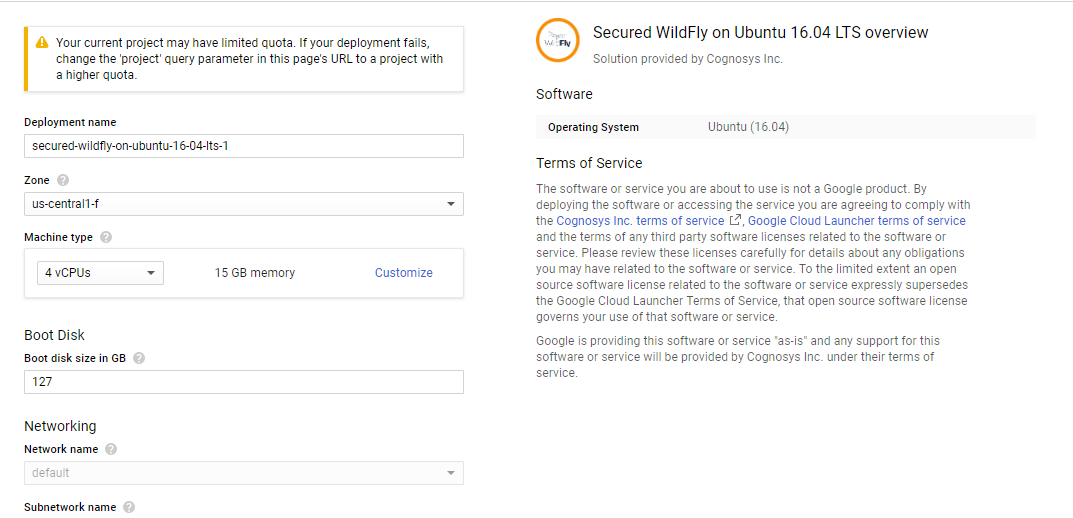
- Click the Launch on Compute Engine button to choose the hardware and network settings.

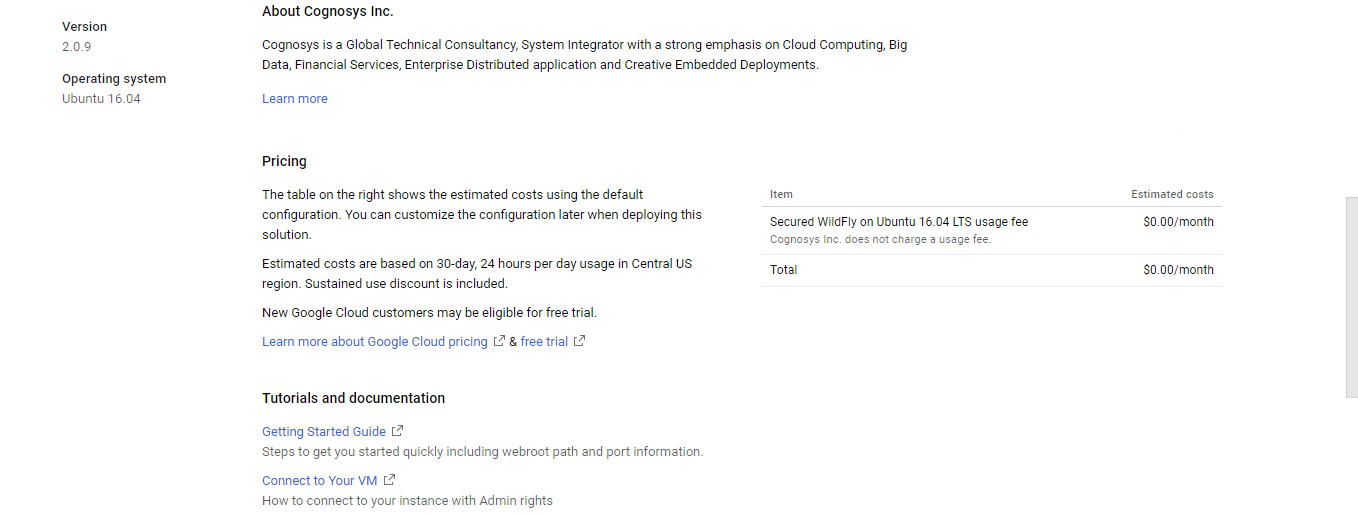
- You can see at this page, an overview of Cognosys Image as well as estimated cost of running the instance.

- In the settings page, you can choose the number of CPUs and amount of RAM, the disk size and type etc.

Step 2) SSH Connection:To initialize the DB Server connect to the deployed instance, Please follow Instructions to Connect to Ubuntu instance on Google Cloud
Step 3) Database Login Details:
The below screen appears after successful deployment of the image.

For local MySQL root password, please use the temporary password generated automatically during image creation as shown above.
i) Please connect to Remote Desktop as given in step 2 to ensure stack is properly configured and DB is initialized.
ii) You can use MySQL server instance as localhost, username root and password as shown above.
If you have closed the deployment page you can also get the MySQL root password from VM Details “Custom metadata” Section.
Step 3 ) Application URL: Access the application via a browser at http://PublicDNS:28080.
Step 4 )Other Information:
1. Default installation path: will be on your web root folder “/opt/wildfly”.
2. Default ports:
- Linux Machines: SSH Port – 22 or 2222
- Http: 80 or 8080
- Https: 443
- MySQL ports: By default these are not open on Public Endpoints. MySQL :3306


