1-click AWS Deployment 1-click Azure Deployment 1-click Google Deployment
Overview
Redmine is a very popular Rails-based open source bug tracker to help in manage issues and tasks for multiple projects. It is tremendously flexible, features a built-in wiki, time tracking, custom fields, role-based access, SCM integration (including git), and support for multiple projects. Redmine has many of the same features you’d find in an enterprise bug tracking system, but of course it’s open source and completely free software. Redmine has a clean interface that makes it easy to define your first project and get started.
How to Access Redmine:
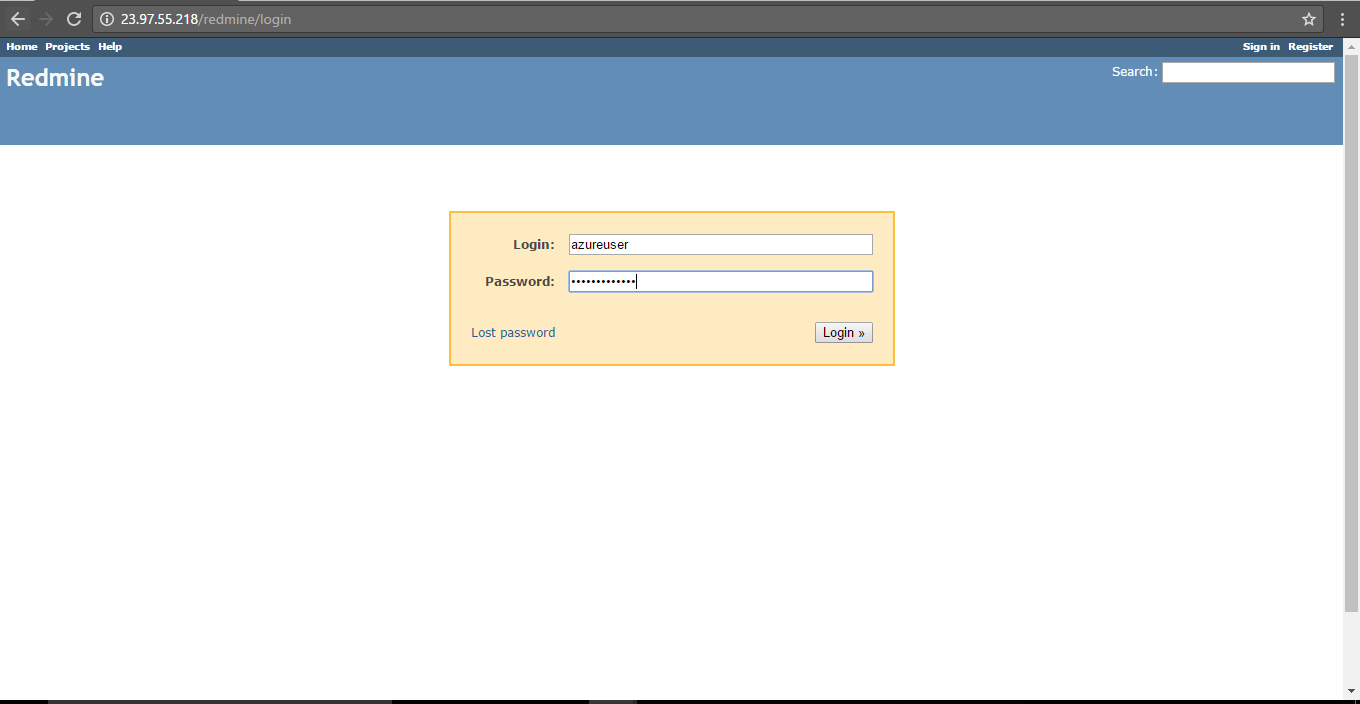
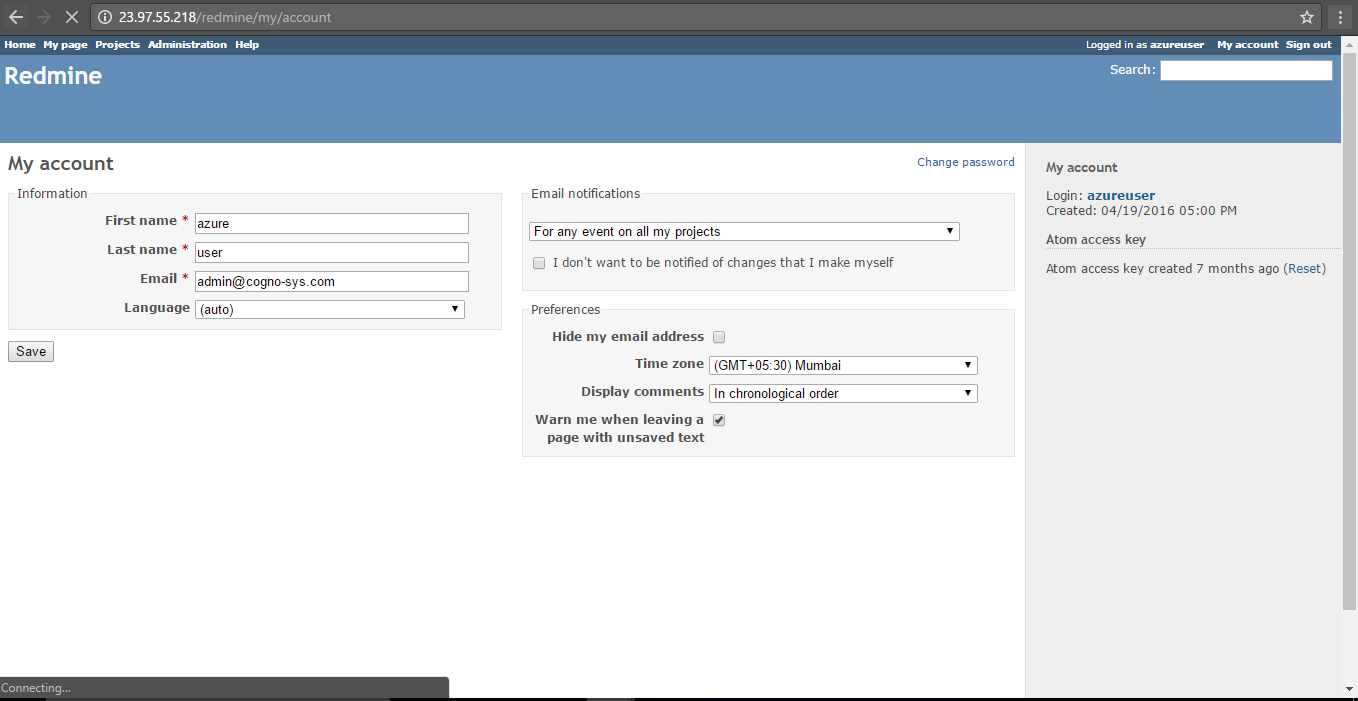
Account management On the top right corner, the “sign in” directs to the log in page and the “register” directs to registration page. After login, on the top right corner, “My account” directs to account management page which could let user change basic information and password.
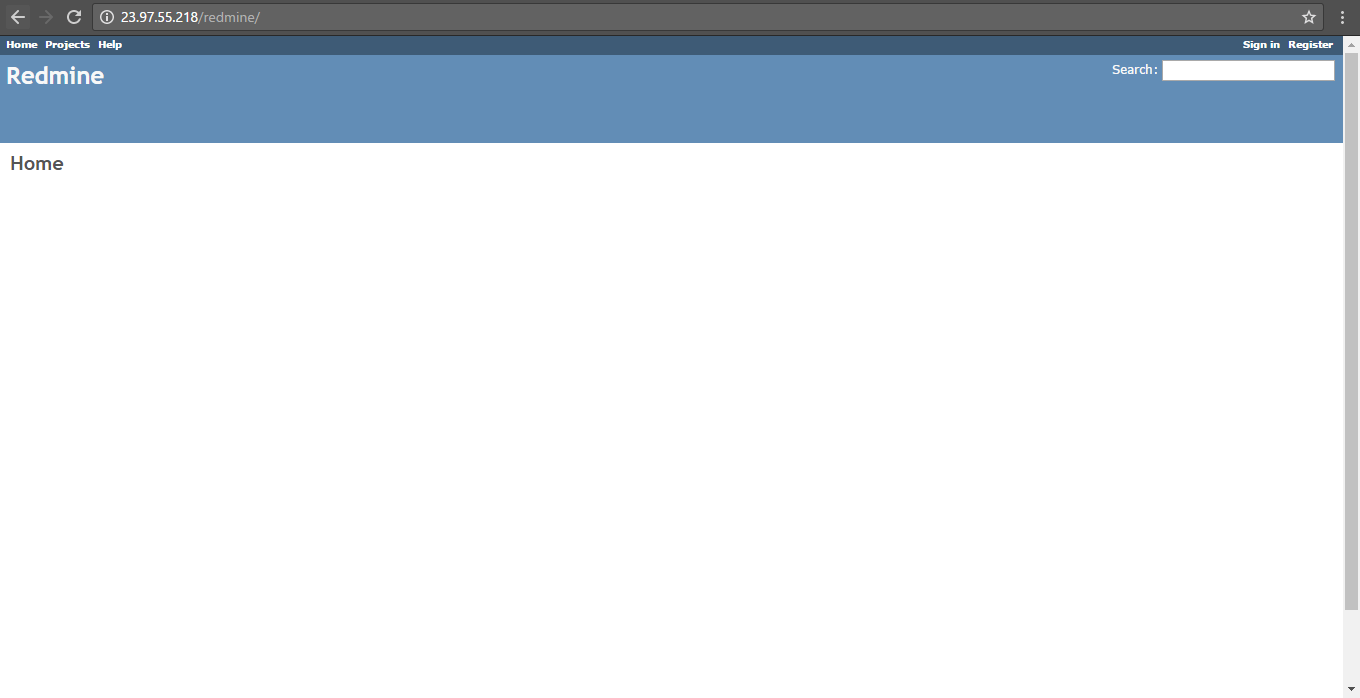
Main Page After login, main page will show up:
Project main page
After jumping to the project, you want, the overview of this project will show up
Issues After clicking “new issue” you are able to create an issue. Subject and Description let you put details about the issue
After clicking “Issues”, a list of open issues will show up. In the list, there will be updated time, author &assignee, priority, status and subject of each issue. By clicking the subject of the issue, you are able to enter the issue and see description&update details
In an issue, after clicking “Update”, a section will show up which allowing user to enter details. In this section, you are able to change the properties of the issue (e.g. how many percentage has been done, assignee changing, etc.). The “Log time” section let users to record how many hours have been spent on this issue. Uploading attachment is also allowed. After you finish the updating and submit it, watchers will receive an email about the updates and people can always check the update history under this issue.
Documents and Files In “Documents” section, a user is allowed to create new documents with both text and files. For the closed issue will disappear from issue list, if there is some notes or procedures of the issue need to be kept for further use, they could be updated under “Documents” section that everyone can see it.
Files” section has the similar function as “Documents”. But it only allows users to upload and download files without text description.
Others “Activity” and “Calendar” show the status changes of issues under this project ordering by time and date. “Gantt” shows the summary of all issue including the due date allowing users to track the issues better. “Wiki” uses a kind of “HTML” language to write contents to the website which has the similar recording function as “Documents”.
Top 5 Benefits of using Redmine for software development teams
1. Turn Redmine into an Agile project management tool
The first step is to extend Redmine with an Agile plugin that lets you implement the most effective techniques from Agile project management. These methodologies enable the software development team to deliver software projects that are closer to the client’s objectives, faster and with better communication than in waterfall. To learn more about the waterfall and agile project management differences, check out our previous post.
With the Agile plugin, you can divide the project into smaller deliverable chunks and deliver a final product with more transparency and faster time to market. Each piece – usually a task is represented as a card on the Agile board. Cards can display a range of parameters, and boards can be fully customized for your team setting, each role, and person.

2. Manage time tracking, resource management and reporting
Most of the software projects, Agile or not, are delivered with time and materials principals. If this applies to you as well, you have to keep track of every minute.
As a manager, you have to know how much time is spent on particular tasks, bugs, or features. You need to be able to bill clients accurately, but also to know your inside costs.
Redmine has a great time tracking module that provides you with timesheets and reports. For non-technical people, it might be hard to digest a raw table with numbers, but there’s a quick fix for this.
By using a Reporter plugin, you can quickly generate a custom neat looking report showing progress on tasks and details. They can be combined from single or multiple tasks, and styled according to your needs. PDF reports can include how much time was recorded, how many changes there were in code, how many deployments have you done etc. – anything tracked in Redmine that your team is working on.
The best way to manage limited human resources is to upgrade Redmine with a plugin for resource management. With a resource planner, you can delegate the tasks onto people that are best suited for the job. What’s more, you can see who’s overloaded and who’s free and just acting busy. You see a Gantt-ish like a chart with availability, time estimates, and reports. An excellent overview for the manager. For team members, the Resources plugin adds a personal widget where they see their tasks ad can manage them easily.
3. Integrate Redmine with code repository
One of the great Redmine built-in features is integration with GitHub and other code repositories. It allows the development team to tie code changes with a bug, features requests, and other issues. This helps to keep track of why the changes happened and where they originated. “Peter Gaarde from RSP Systems” connected Redmine with GitHub and is satisfied with the integration. In the case study, he said It helps his team to deliver the code changes faster and improve communication.
The process of integration with RedmineUP Cloud with GitHub or other source code repository is simple and can be finished in 10 minutes..
Another way you can significantly benefit from Redmine is to integrate with other external tools you might be using. You can connect them with Redmine via REST API. It can be used to plug tools for billing, communication, Q&A, knowledge base, external time trackers, or other web apps. With the possibilities of connection, it beats Jira and other commercial solutions.
4. Start Helpdesk in Redmine
Once the project goes to production, it’s usually taken over by the Customer Success/Customer Support department.
You already know that it doesn’t mean that the job is done. Sooner or later, a bug or request will emerge. As a developer, you cannot let the middle man disturb the communication. And this often happens, so please don’t let them use emails. Emails get lost all the time. Wrong mailboxes, spam, and hard estimate if the email was actually received and read… it can be a mess.Add Helpdesk plugin to Redmine to turn all emails from designated projects into support tickets and relate them with development tickets or bug requests. Connect your mailboxes, widget, or contact forms and keep all messages in one place.You can keep the messages in basic Redmine, but with a rising number of requests, the daily routine gets hard to reply on time. Helpdesk plugin can ease the work with a set of features that let you automate the team’s efforts and provide insights about the performance.
Redmine is a free and open source, web-based project management and issue tracking tool. It allows users to manage multiple projects and associated sub projects. Redmine is an issue tracking system for Hanlon Financial System Lab which allows users to
post and update issues. It is extremely flexible, features a built-in wiki, time tracking, custom fields, role-based access, SCM integration (including git) and support for multiple projects. Redmine has many of the same features you’d find in an enterprise bug tracking system, but of course it’s open source and completely free software. Redmine has a clean interface that makes it easy to define your first project and get started.
Redmine is owned by Redmine (http://www.redmine.org/) and they own all related trademarks and IP rights for this software.
Cognosys provides hardened and ready to run images of Redmine on all public cloud ( AWS marketplace and Azure).
Deploy your Redmine securely on cloud i.e. AWS marketplace and Azure with reliable services offered by Cognosys at one-click with easy written and video tutorials.
Secured Redmine on Ubuntu 14.04 LTS
Redmine on Cloud for Azure
Features
Key Features of Redmine:
For project scheduling, Redmine has a Gantt chart and Calendar. Also, users can use the WIKI to manage project documentation. Tasks are shared with the team members as an issue which will be explained below. And the most important thing for software development teams, they can even see the program code that has been created using the version control system. Currently, Redmine can view the contents of the Subversion (SVN), CVS, Mercurial and Bazaar repositories.
Task Management
Every task in Redmine is called an issue that can be grouped into several categories, such as feature, bug, issue, idea, etc. Also, Issue can have a parent task to create a project milestone. Furthermore, users can create a task group called “Version” to better organize the project. Usually, project managers use a “Version” to create task groups based on achievement target. So, the “Version” is like Sprint planning on agile project management methodologies.In addition, once you create an issue, then you can relate it with other issues. But make sure you have given permission to the user role to manage issue relations.
Create an issue
Another interesting feature in Redmine is Custom Fields. It’s one of the most flexible Custom Fields feature compared than other project management software. Its allow you to add additional information to several types of data used in Redmine. Some field supports multiple values. So, you can enable users to select more than one item on the custom field. Also, you can create possible values for the “List” fields which can be “List” or “Key/Value List”. A change in possible values of “List” type will not affect any existing records created in the past, while a change in values of “Key/value list” will also affect existing records created in the past.
Time Tracking
Redmine provides time tracking tool that enables users to record a spent time on each issue. After users add a spent time, they will be taken to the Spent Time page. This page shows the amount of time spent on various tasks in the project. So, users can see the amount of time spent on one task or the whole project. In addition, each time entry of “spent time” can be categorized by activity, and further explained with comments. By filling time estimates, project managers are able to produce better-suited project planning as well as follow individual user’s progress.
Gantt Chart and Calendar
Gantt chart is a bar chart commonly used in Redmine to track project schedules. Gantt Chart in Redmine, the list of the activities (issues or project versions) is placed on the left of the chart and along the top is a suitable time scale. Each activity is represented by a bar; the position and length of the bar reflect the start date, duration and end date of the activity. Also, the Gantt chart view shows the relationship between one issue to another .
Gantt Chart View
Meanwhile, the calendar provides an overview of the current project as a monthly view. This view displays all the issues that have at least a start date and indicates their start date and (if available) their due date. The calendar also displays all versions which have a due date set.
Both Gantt chart and Calendar, it is possible to define filters to define a subset of issues to be shown on the page. Such filters are similar to those specified on any issue-list.
News, Documents & Files management
Redmine enables you to publish news items about the project or any subject you like. The news is like an announcement which will be displayed in the Latest news area of the project overview.
Also, you can publish project documentation through the “Documents” module. There are two categories for documentation: User Documentation and Technical Documentation. You are able to modify these categories and or add a new one using document category enumerations. Once documents have been uploaded, the title is used as the link to download the attached documents and add more if necessary.
Users can attach files to different resources within the Redmine system; issues, documents, forum messages, news items, and wiki pages. In addition, users can upload files through the “Files” module. The “Files” module page shows the details of all the uploaded files.
SCM Integration
Redmine is widely used by the software development team. That’s because besides being free, Redmine also provides integration with Version Control Systems, includes SVN, CVS, Mercurial and Bazaar repositories. So, users can browse the project repository and view the latest commits.
Redmine Plugins
As open-source software, users can modify and adjust Redmine to fit they need to quite some extent. Although users might want to make use of some available Redmine plugins to get even more out of Redmine. For example, Usersnap plugin for Redmine is definitely a plugin that usually needed by software development teams. With the feedback and bug tracking plugin for Redmine, developers can collect all bug reports and feedback from colleagues and customers inside Redmine.
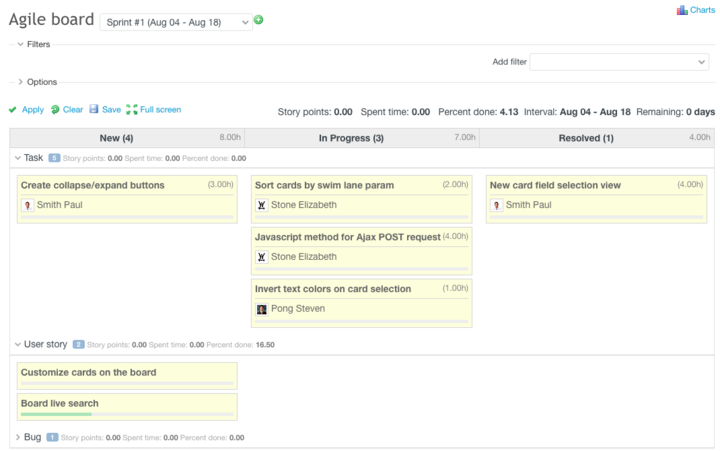
Redmine Agile plugin
Another popular Redmine plugin is Agile plugin. The plugin displays Redmine Issues as tasks cards on an Agile board like Trello. With the Agile plugin, you can create Kanban- or scrum-like boards and charts. So, users can prioritize, assign and track issues efficiently.
User Experience
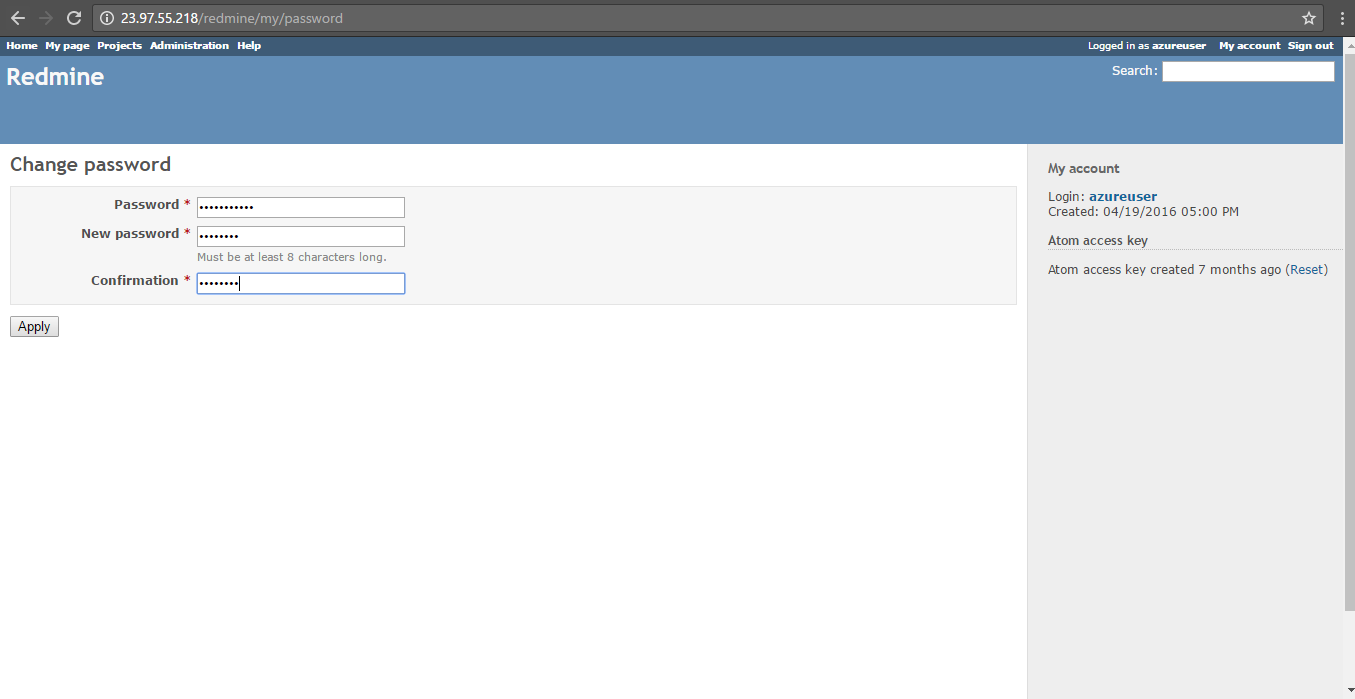
The Redmine application runs using a browser, such as Chrome, Mozilla, Opera, etc. The first page will appear for login. The default username and password are admin/admin. So after the login is successful, it is recommended to change the administrator password immediately through the My Account page.
According to Ian C, a reviewer from G2 Crowd, Redmine is designed well for the management of small to medium size projects. With the right technical expertise, it can accomplish a lot for you. The best thing about Redmine is that the software can be integrated seamlessly with their organizational LDAP authentication system. In addition, two other departments have been using it as well. Those were both customer service groups and they were able to adapt to it with only a few hours of training.
Customer Services & Support
Redmine has community support for any kind of questions. However, community support like isn’t growing. Also, a lot of the third party plugins don’t get long term support, but in general we have been able to use Redmine though without much support from the community.
Pricing
Interested users looking for the Redmine pricing details will be glad to know that it is a free open source solution. However, some additional plugins are not free to use
Major Features Of Redmine
- Multiple projects support
- Flexible role based access control
- Flexible issue tracking system
- Gantt chart and calendar
- News, documents & files management
- Feeds & email notifications
- Per project wiki
- Per project forums
- Time tracking
- Custom fields for issues, time-entries, projects and users
- SCM integration (SVN, CVS, Git, Mercurial, Bazaar and Darcs)
- Issue creation via email
- Multiple LDAP authentication support
- User self-registration support
- Multi language support
- Multiple databases support
AWS
Installation Instructions For Ubuntu
Note : How to find PublicDNS in AWS
A) Application URL: Access the application via a browser at http://PublicDNS/Redmine.
B) SSH Connection: To connect to the operating system,
1) Download Putty.
2) Connect to virtual machine using following SSH credentials :
- Hostname: PublicDNS / IP of machine
- Port : 22
Username: To connect to the operating system, use SSH and the username is ubuntu.
Password : Please Click here to know how to get password .
C) Other Information:
1. Default installation path: will be on your web root folder “/var/www/html/Redmine”
2. Default ports:
- Linux Machines: SSH Port – 22
- Http: 80
- Https: 443
- MYSQL ports: By default these are not open on Public Endpoints. MYSQL : 3306
D)Database Login Details :
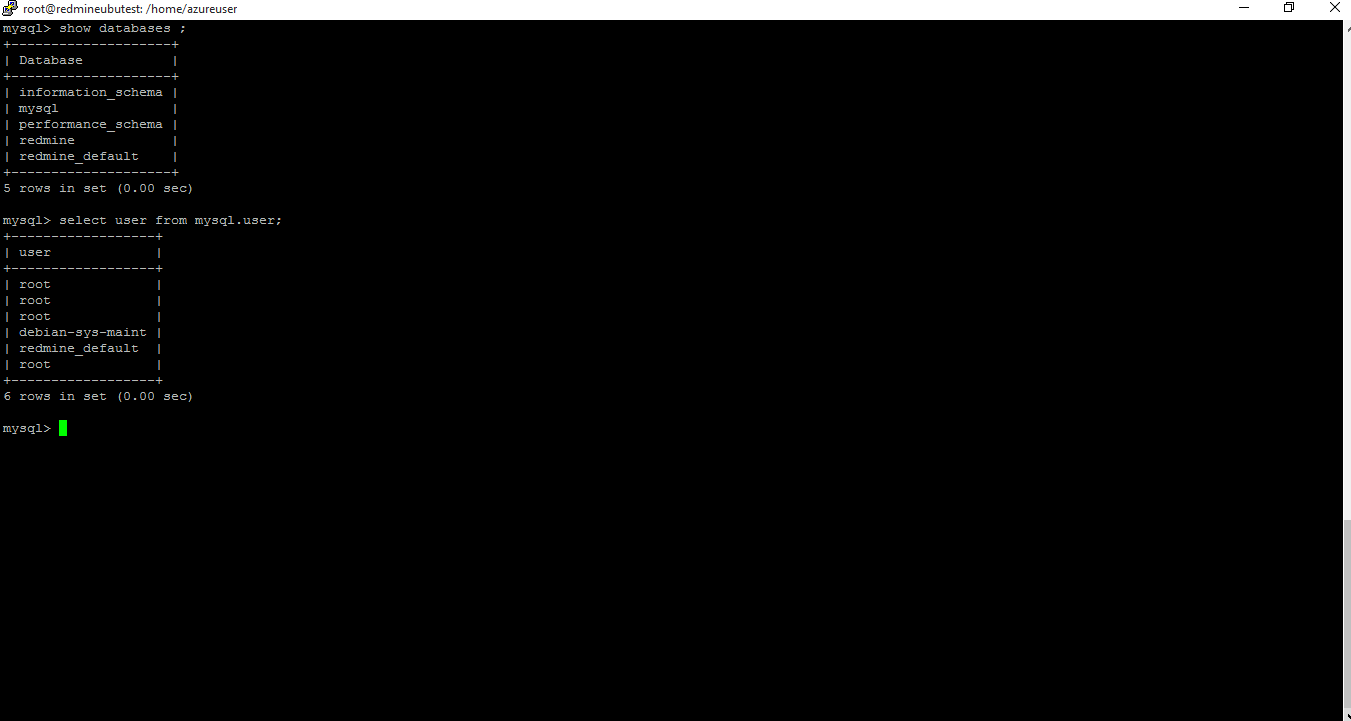
- MYSQL Username : root || MYSQL Password : Passw@rd123
Note :-Please change password immediately after first login.
Configure custom inbound and outbound rules using this link
AWS Step by Step Screenshots
Stack Name-This will be your Current stack.

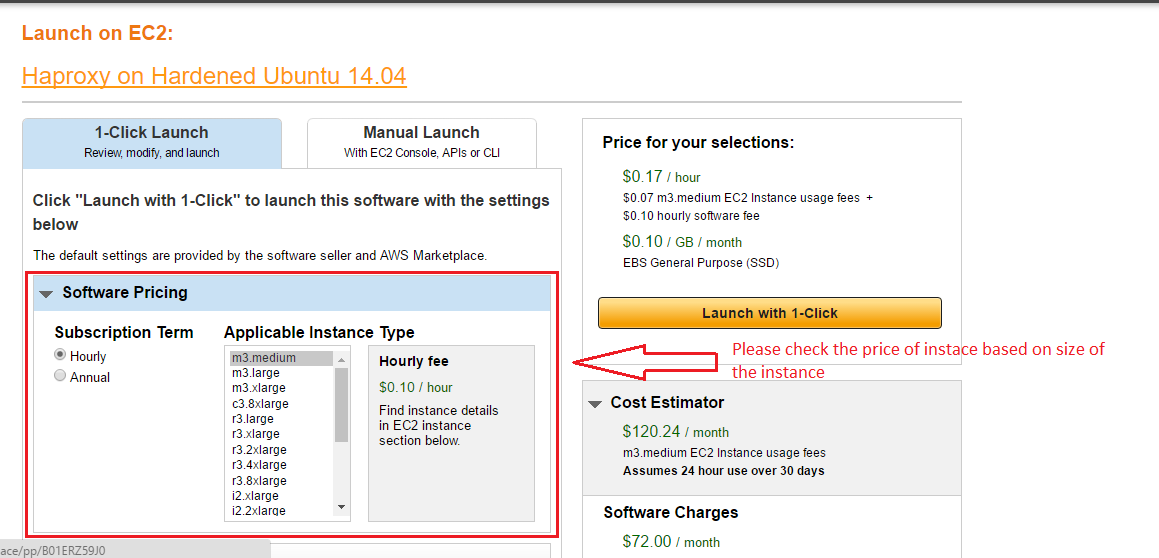
Choose Software Pricing
Choose your Version
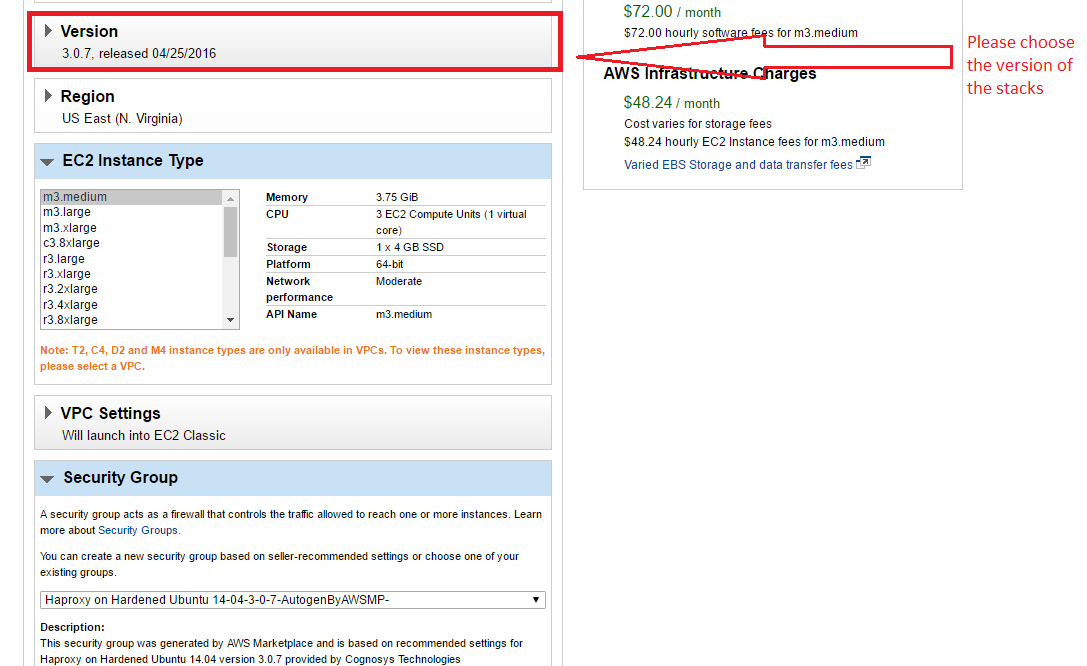
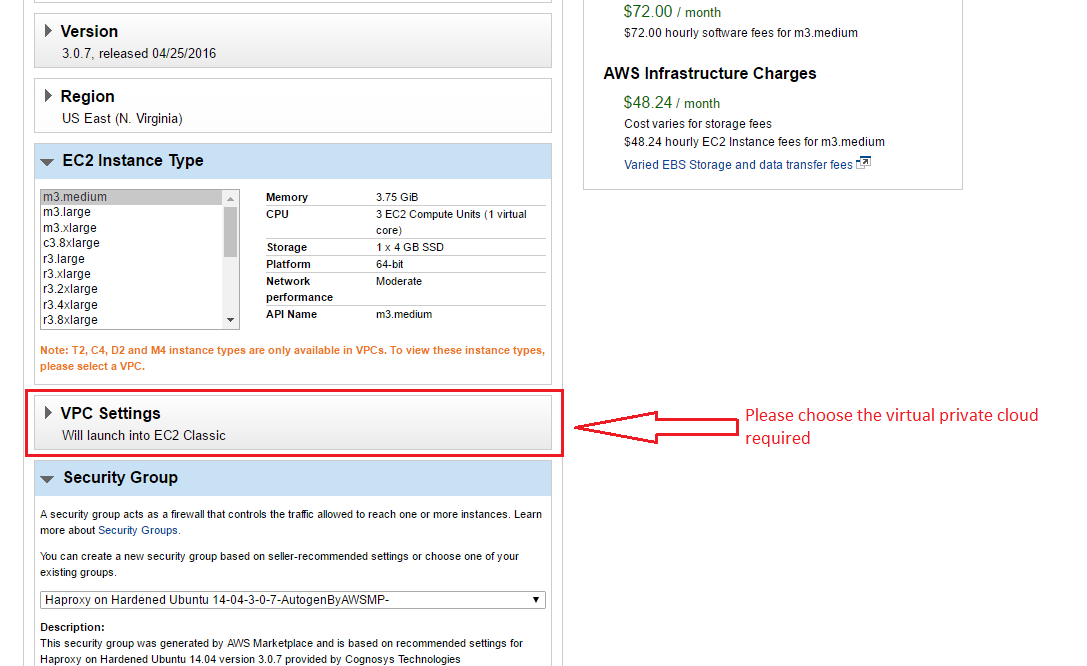
Choose your EC2 Instance Type

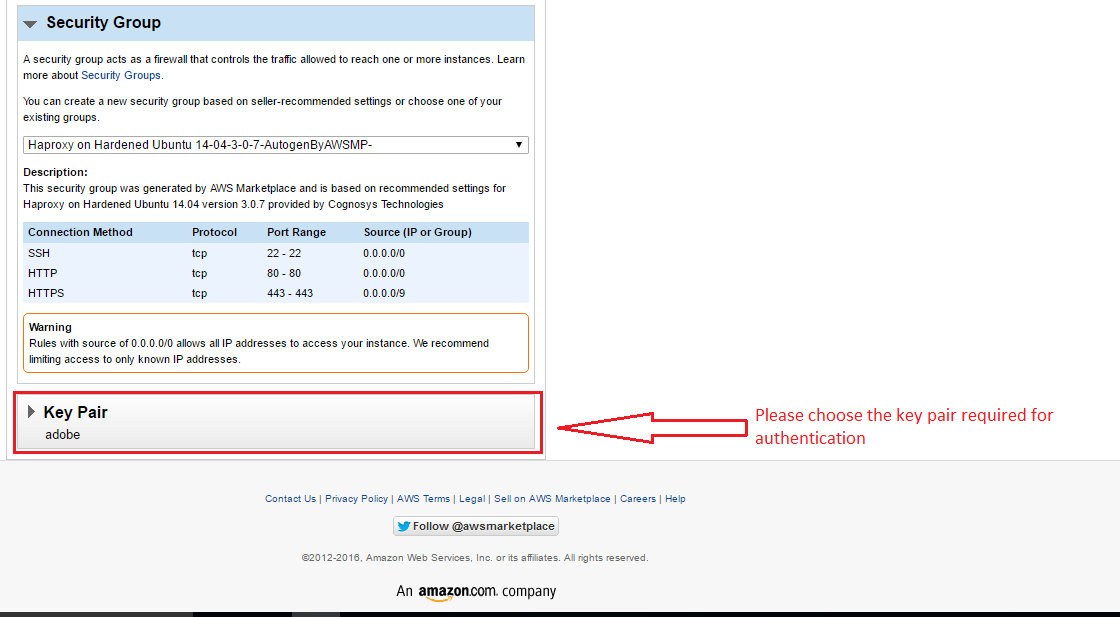
Choose Your Key Pair
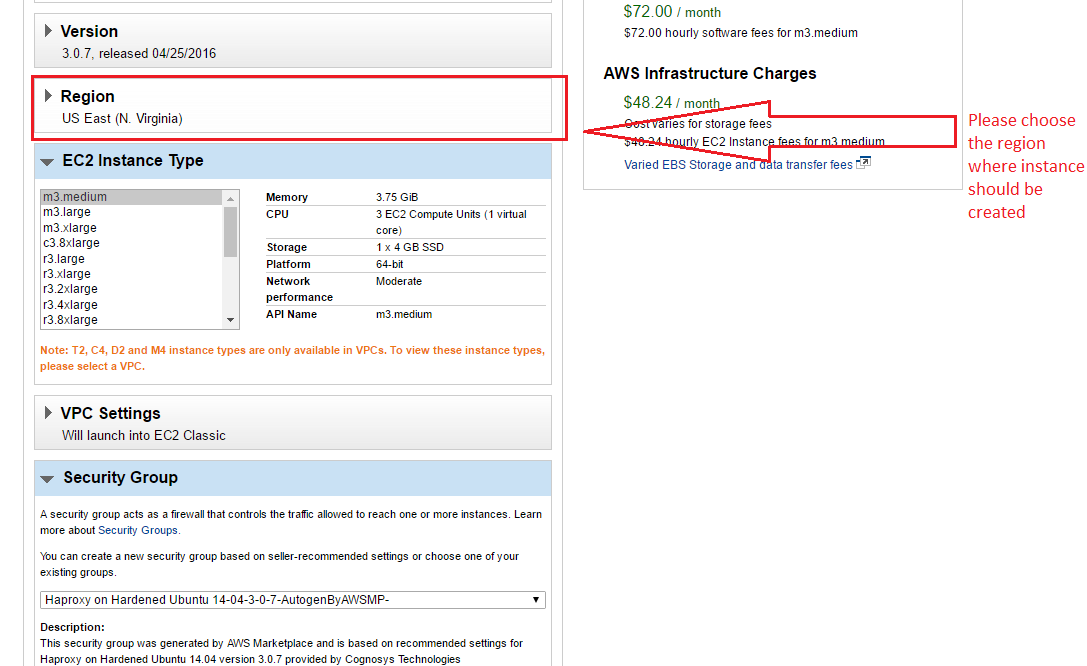
Choose your Region
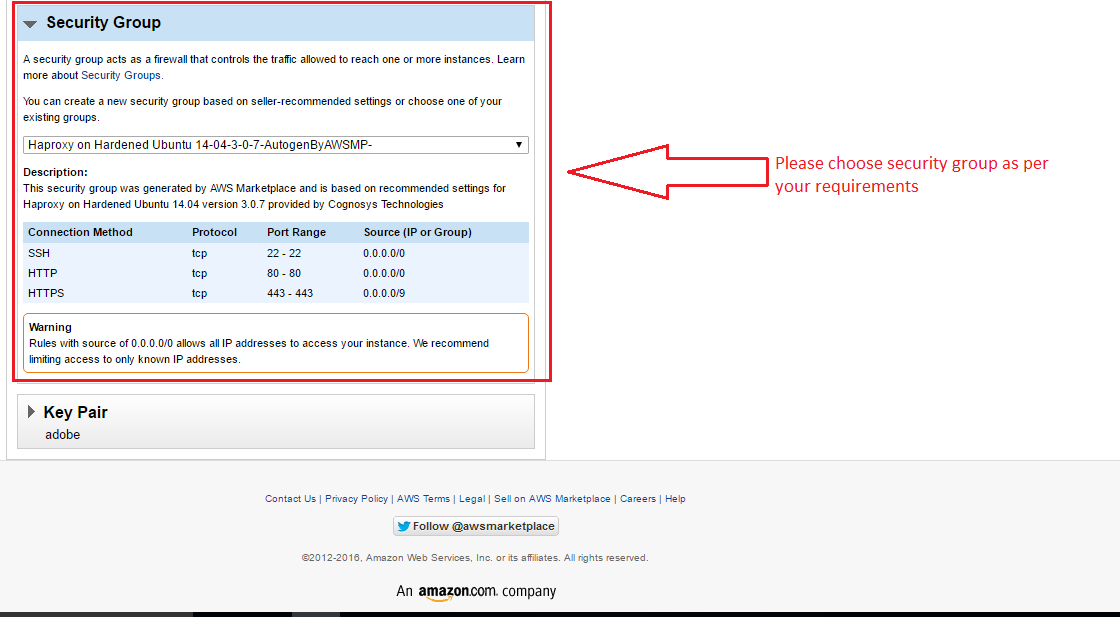
Choose your Security Group
Change VPC Settings
Azure
Installation Instructions For Ubuntu
Note : How to find PublicDNS in Azure
A) Application URL: Access the application via a browser at http://PublicDNS
- Username : admin (Please create new user and delete this user)
- Password : admin
B) SSH Connection: To connect to the operating system,
1) Download Putty.
2) Connect to virtual machine using following SSH credentials :
- Host name: PublicDNS / IP of machine
- Port : 22
Username: Your chosen username when you created the machine ( For example: Azureuser)
Password : Your Chosen Password when you created the machine ( How to reset the password if you do not remember)
C) Other Information:
1. Default installation path: will be on your web root folder “/var/www/html/redmine”
2. Default ports:
- Linux Machines: SSH Port – 22
- Http: 80
- Https: 443
- MYSQL ports: By default these are not open on Public Endpoints. MYSQL : 3306
D) Database Login Details :
- MYSQL Username : root || MYSQL Password : Passw@rd123
Note :-Please change password immediately after first login.
Configure custom inbound and outbound rules using this link
Installation Instructions For CentOS
Note : How to find PublicDNS in Azure
A) Application URL: Access the application via a browser at http://PublicDNS
- Username : admin
- Password : admin
B) SSH Connection: To connect to the operating system,
1) Download Putty.
2) Connect to virtual machine using following SSH credentials :
- Hostname: PublicDNS / IP of machine
- Port : 22
Username: Your chosen username when you created the machine ( For example: Azureuser)
Password : Your Chosen Password when you created the machine ( How to reset the password if you do not remember)
C) Other Information:
Default ports:
- Linux Machines: SSH Port – 22
- Http: 80
- Https: 443
- MYSQL ports: By default these are not open on Public Endpoints. MYSQL : 3306
D) Database Login Details :
- MYSQL Username : root || MYSQL Password : Passw@rd123
Note :-Please change password immediately after first login.
Configure custom inbound and outbound rules using this link
Azure Step by Step Screenshots for Ubuntu 14.04 LTS

Installation Instructions For Ubuntu
Installation Instructions for Ubuntu
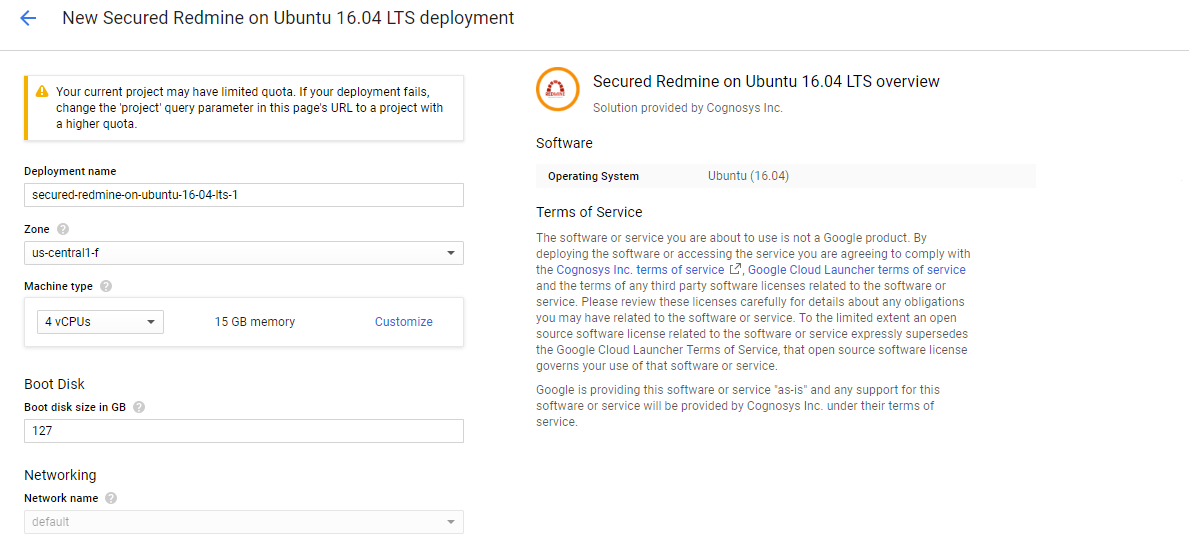
Step 1) VM Creation:
- Click the Launch on Compute Engine button to choose the hardware and network settings.
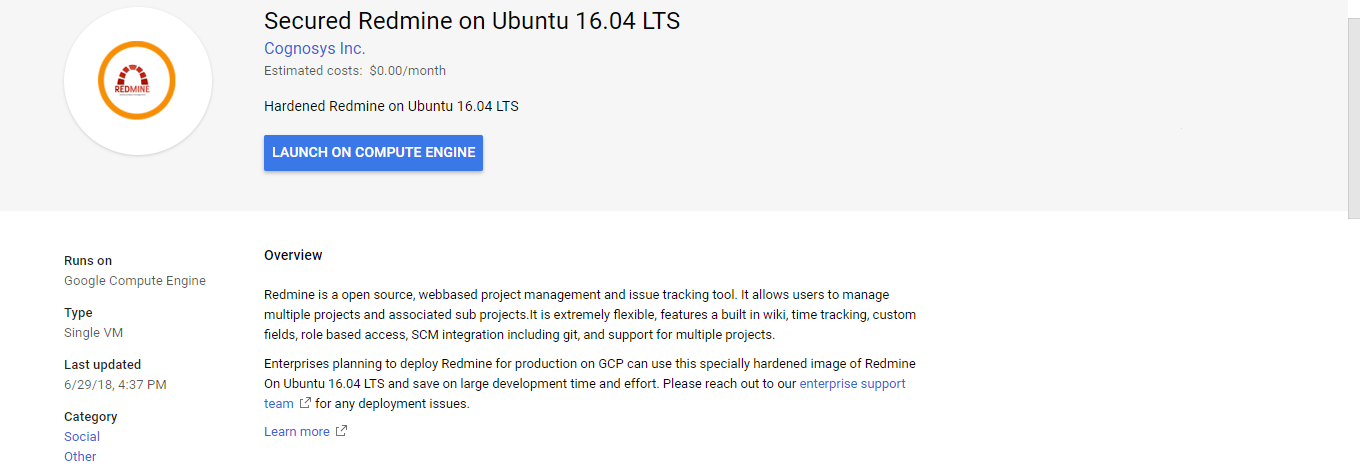

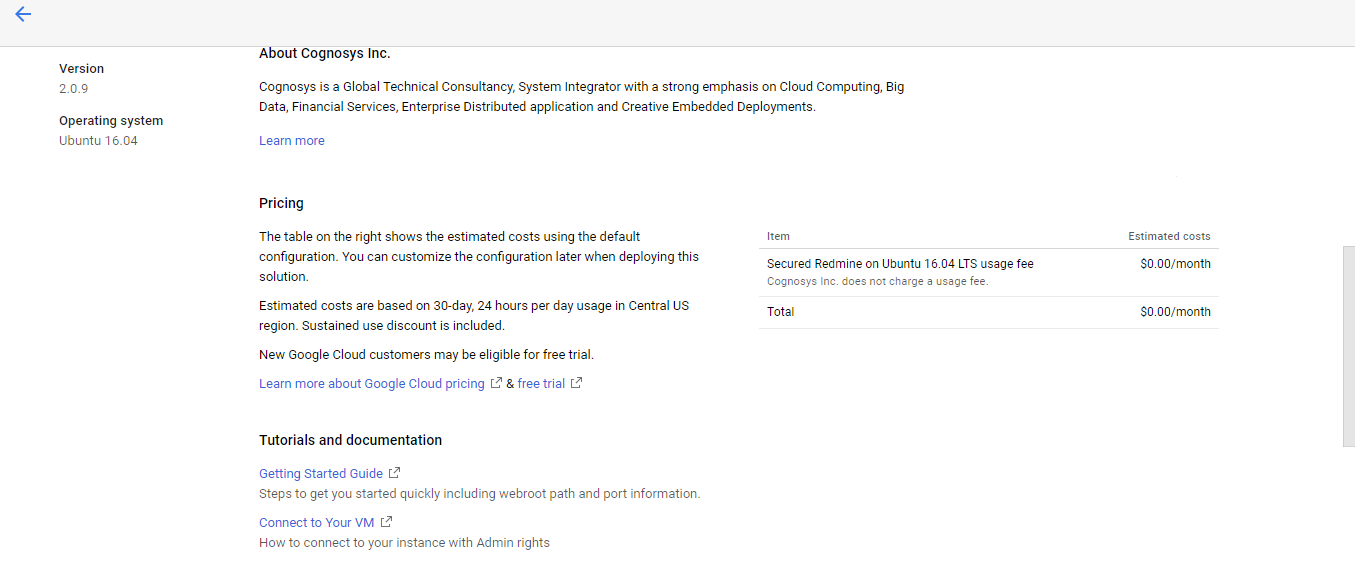
- You can see at this page, an overview of Cognosys Image as well as estimated cost of running the instance.

- In the settings page, you can choose the number of CPUs and amount of RAM, the disk size and type etc.

Step 2) SSH Connection:To initialize the DB Server connect to the deployed instance, Please follow Instructions to Connect to Ubuntu instance on Google Cloud
Step 3) Database Login Details:
The below screen appears after successful deployment of the image.

For local MySQL root password, please use the temporary password generated automatically during image creation as shown above.
i) Please connect to Remote Desktop as given in step 2 to ensure stack is properly configured and DB is initialized.
ii) You can use MySQL server instance as localhost, username root and password as shown above.
If you have closed the deployment page you can also get the MySQL root password from VM Details “Custom metadata” Section.
Step 4) Application URL: Access the application via a browser at http://PublicDNS/Redmine.
Step 5) Other Information:
1. Default installation path: will be on your web root folder “/var/www/html/Redmine”
2.Default ports:
- Linux Machines: SSH Port – 22 or 2222
- Http: 80 or 8080
- Https: 443
- Sql or Mysql ports: By default these are not open on Public Endpoints. Internally Sql server: 1433. Mysql :3306
