
1-click AWS Deployment 1-click Azure Deployment 1-click Google Deployment
Overview
Dropthings is a Personalizable Widget powered Web Portal framework that demonstrates the power of Ajax and Widget Framework to build Web 2.0 websites as well as Enterprise Dashboards. You can extend the fully functional site in any way you like. You can build your own widgets, besides the built-in RSS, Twitter, Flickr, Weather, Stock, HTML and Static Content widgets. You can build widgets that render data from your own databases or collects data from your own webservices and renders them using sophisticated rendering controls.
Dropthings is an N-tier web app with nearly 100% automated test coverage on the business layer as well as 80% automated UI tests that cover all the UI behaviors.
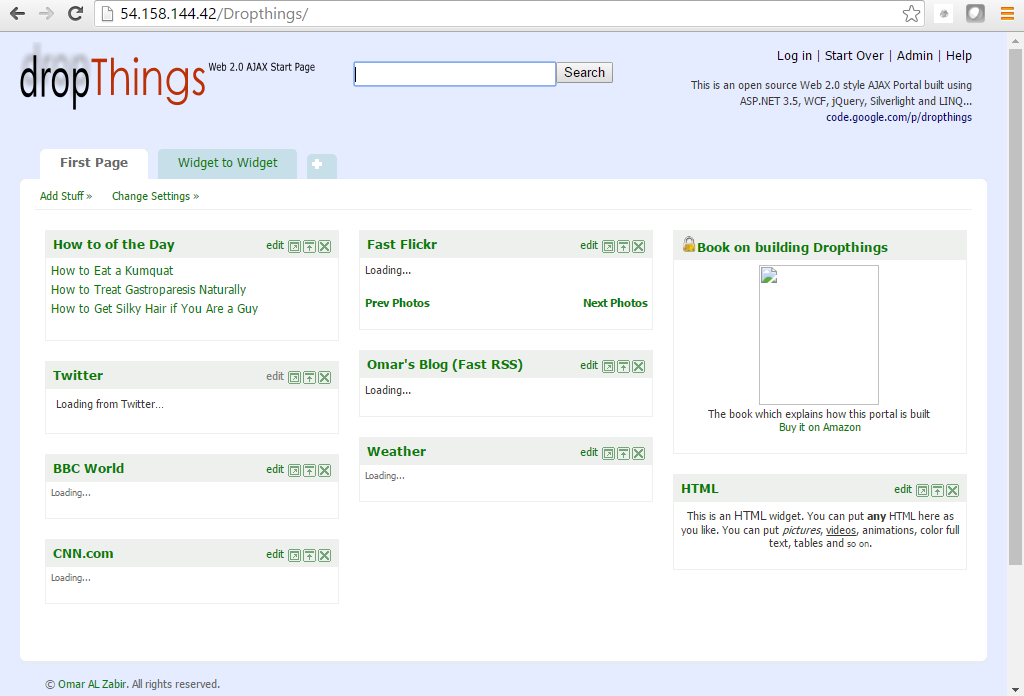
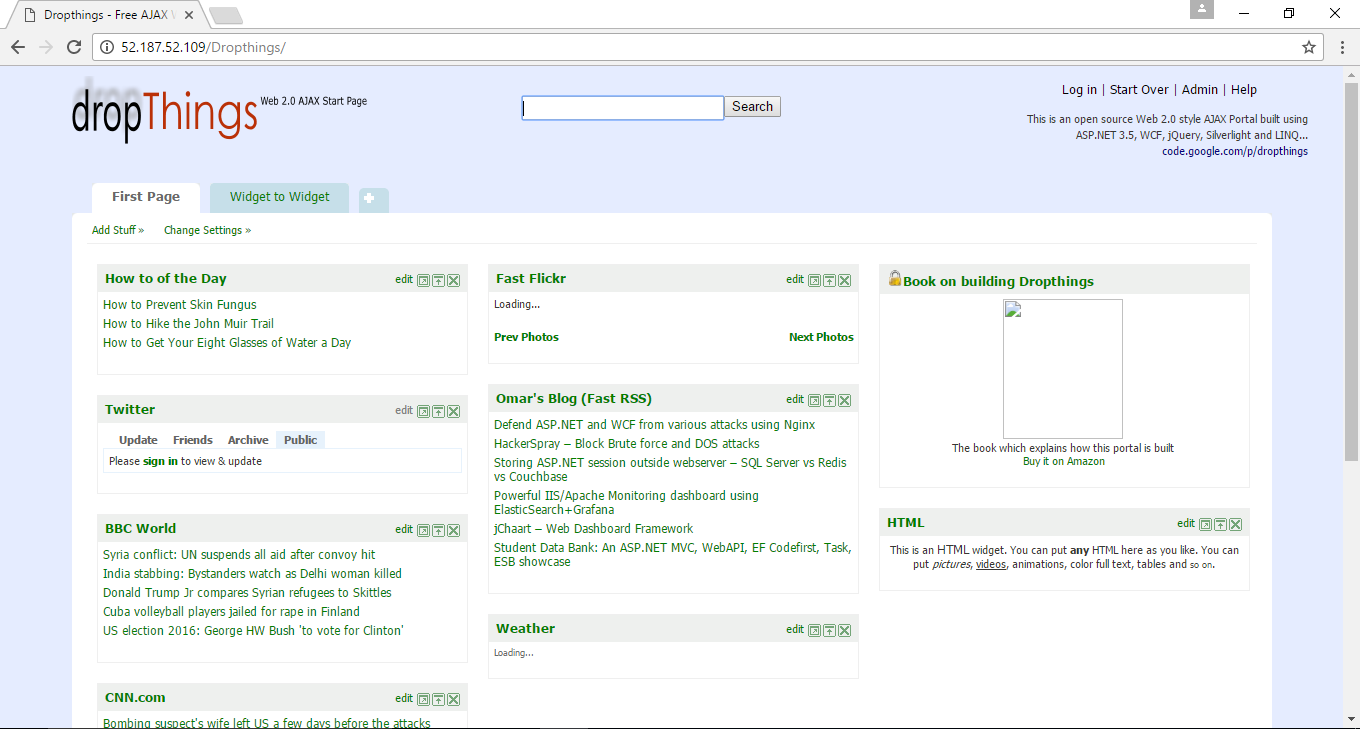
Your initial visit to Dropthings gives you a predefined template that can be customized

On the Dropthings Start page, you can add widgets,remove widgets that you don’t like,and customize individual widgets by clicking on the “edit” link on each title bar.Clicking on the “edit” link brings up the “Settings” area for the widget where you can change its look, feel, and behavior (see Figure).
The photo widget allows you to change the photo stream by clicking on “edit” link on the title bar of widget

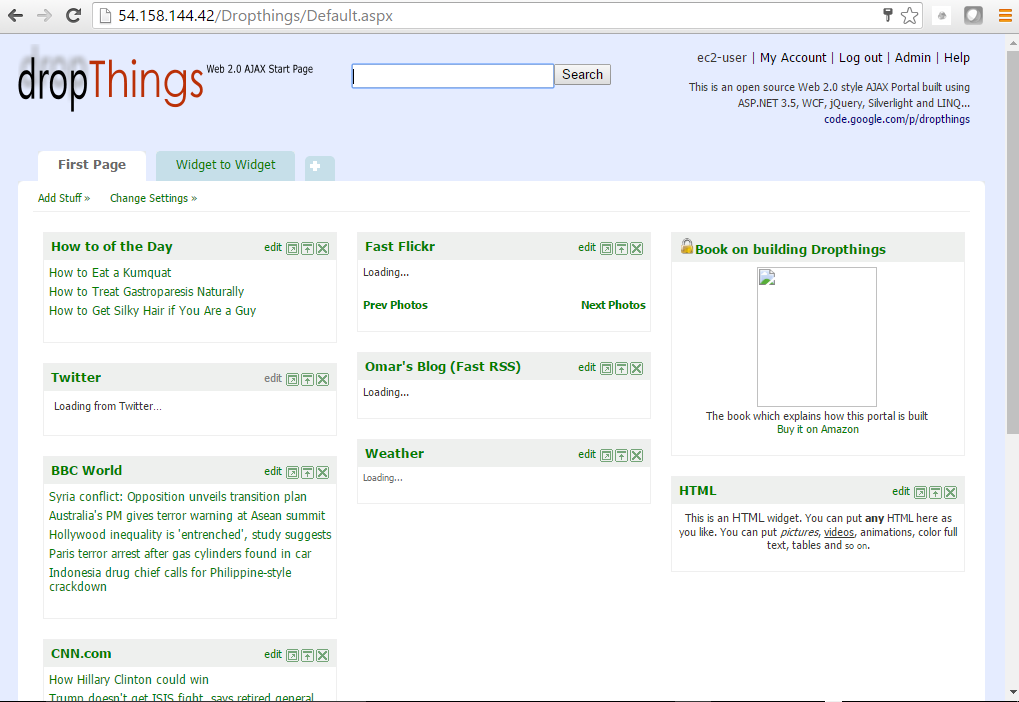
You can also drag-and-drop widgets from one column to another and reorganize the page as you like.When you come back to the page,your customization is preserved even if you did not sign up. However,when you sign up,your pages are saved permanently and you can access them from anywhere (see Figure).
It is possible to have more than one tab (page) of widgets. There’s already a precreated empty second tab where you can add new widgets.So from there, you can add as many tabs as you like.This helps you keep your tabs clean and light and groups relevant widgets in the same location.
Clicking on the “Add stuff” link on the top right of the web page brings up a pop-up widget gallery that shows the list of available widgets (see Figure).rom the list, you can click anywhere on the widget and have it added to your page.After adding it, you can further customize it by clicking on the “edit” link on the widget’s title bar.
You can drag and drop widgets on the page and reorganize the page as you like

Create a “Photo” tab and add a Flickr photo widget to it with Add Stuff; each photo widget shows a specific photo stream from Flickr as defined by the widget’s settings

At the top part of the page,there’s a bar where you can search the Internet. Search isthe most used function on the Web. Therefore,web portals need to have convenientsearch functionality; otherwise users won’t set a web portal as browser homepage.
The Live.com search bar on the top provides on-site search functionality where the search results are shown right on the page, which allows the user to perform a search without leaving the web portal.

As you use the site, you will notice there’s not a single postback of the page.Operations are performed either via asynchronous postback or via JavaScript calls from the browser. You can add/remove widgets,drag-and-drop widgets,and switch tabs without ever causing a postback or refresh of the page.This is what makes Ajax web portals really convenient and fast to use compared to non-Ajax web portals.The Live.com search bar provides on-site search functionality.
How to Install Dropthings From Your WebsitePanel Using Microsoft Web App Gallery
1) Click Domains:

2) Click Add Domain

3) Click Sub-domain

4) Enter the name of your sub-domain. For this example, we will be using “drop” as the sub-domain name

5) Click Add Domain

6) Click Microsoft Web App Gallery in the Hosting Space Menu on the left

7) Find and click Dropthings

8 ) Click Next

9) Select the sub-domain you just created

10) Enter the URL of the application. For this example, the URL would be http://drop.arvixedemo.com/

11) Enter a new database name

12) Enter a name for the database user

13) Enter a password for the database user

If you get an error saying “Cannot use entered value for parameter ‘Database Password’. The value must match the regular expression ‘(?=^.{8,}$)((?=.*\d)|(?=.*\W+))(?![.\n])(?=.*[A-Z])(?=.*[a-z]).*”, make sure your password is at least 8 characters long with at least one lower case letter, one upper case letter and one number.
14) Click Install

15) You will then get a confirmation that your installation is complete

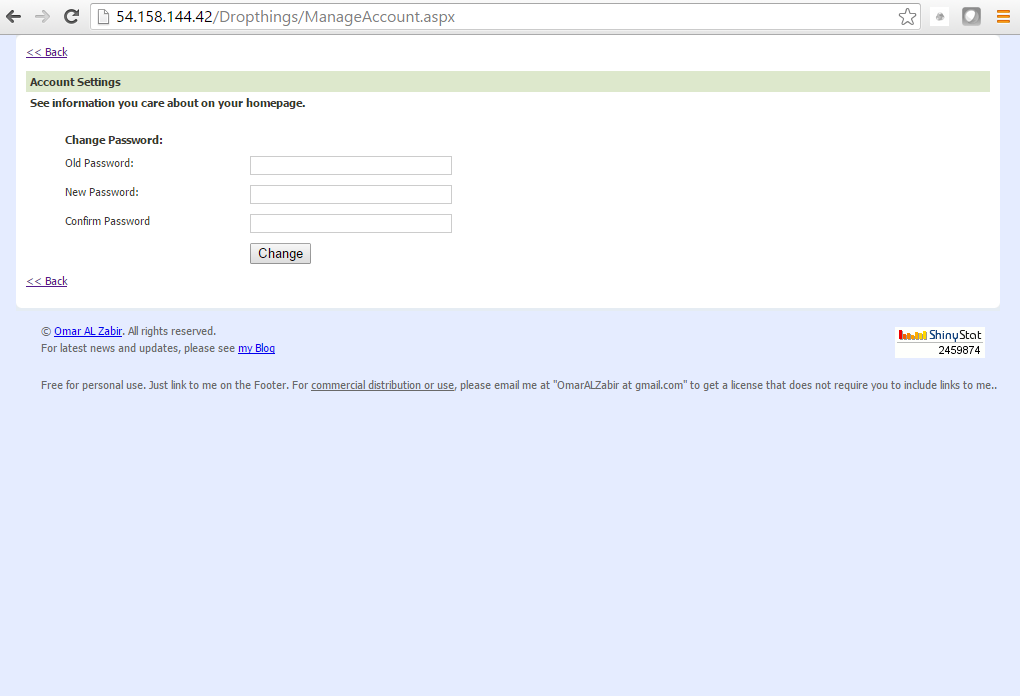
16) Click Account Home

17) Click Web Sites under Web

18 ) Find and click the sub-domain you just created

19) Click Extensions

20) Change the ASP.NET version to 4

21) Click Update

This concludes how to install Dropthings from your WebsitePanel.Once your installation is complete, your new Dropthings page will look like this:

Dropthings is a Personalizable Widget powered Web Portal framework that demonstrates the power of Ajax and Widget Framework to build Web 2.0 websites as well as Enterprise Dashboards. You can extend the fully functional site in any way you like. You can build your own widgets, besides the built-in RSS, Twitter, Flickr, Weather, Stock, HTML and Static Content widgets. You can build widgets that render data from your own databases or collects data from your own webservices and renders them using sophisticated rendering controls. Dropthings is an N-tier web app with nearly 100% automated test coverage on the business layer as well as 80% automated UI tests that cover all the UI behaviors. It is a great ASP.NET foundation to build your own application upon, benefiting from the highly extensible codebase that embraces Dependency Injection, Inversion of Control, Repository Pattern, Caching, Instrumentation and Unit Testable code.
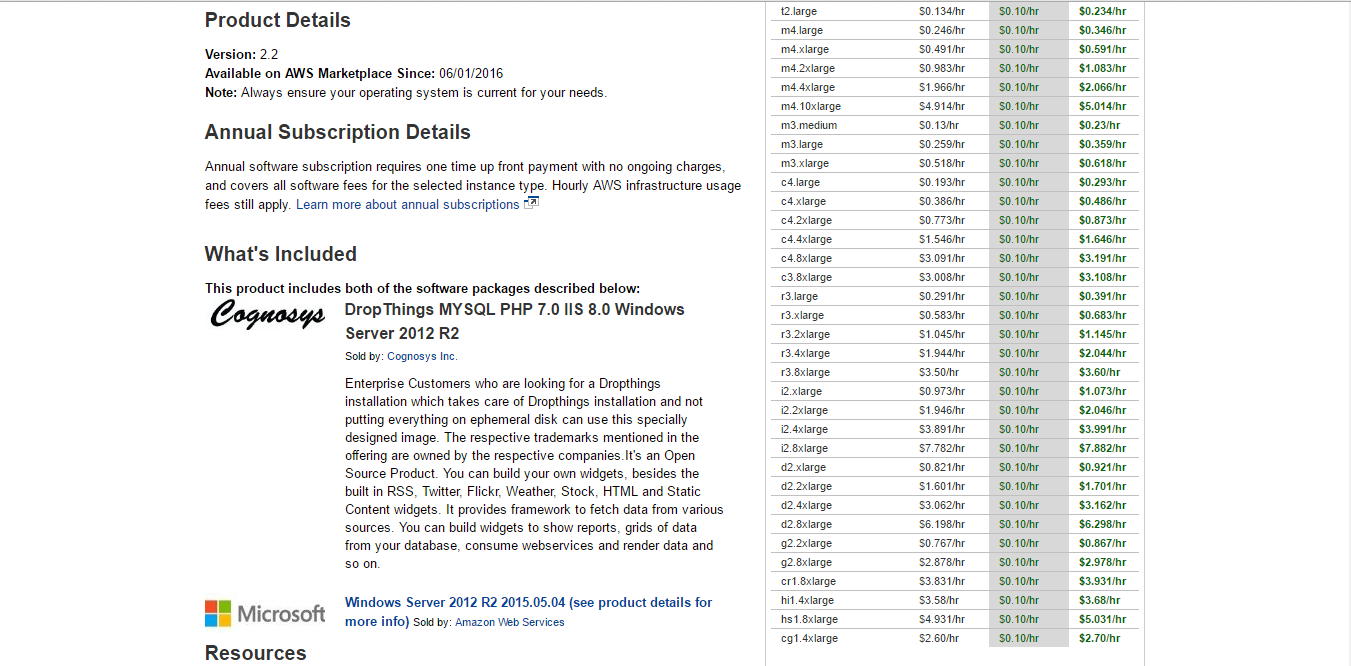
Dropthings is owned by Dropthings (https://webgallery.microsoft.com/apps/Dropthings) and they own all related trademarks and IP rights for this software.
Cognosys provides hardened and ready to run images of Dropthings on all public cloud ( AWS marketplace and Azure).
Deploy your Dropthings websites and applications securely on cloud i.e. AWS marketplace and Azure with Reliable Services offered by Cognosys at one-click with easy written and video tutorials.
Secured Drop Things on Windows 2012 R2
Dropthings on cloud for AWS
Dropthings on cloud for Azure
Features
Major Features of Dropthings
- Internationalization – English, French, Spanish and German already supported.
- Customizable pages and widgets.
- Drag & Drop personalization.
- Feature rich widget framework.
- Very fast page load with caching and advance javascript tricks to make pages smooth and fast.
- Entity Framework for database access. Uses repository pattern to easily support other databases.jQuery animations.
- Allow user to add own tabs and put widgets as user likes.
- Allow user to customize widgets.
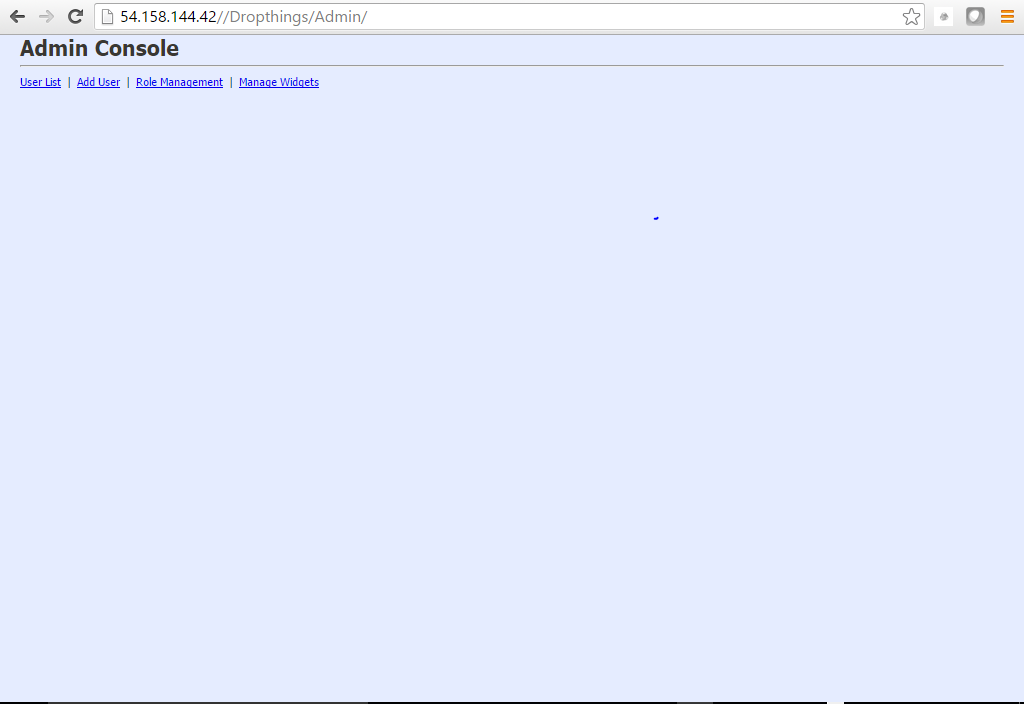
- Configure widgets for specific user roles.
- Configure different default page setup for different roles – Managers get some widgets, Employees get different widgets and so on.
- Ability to define page setup for anonymous users and different page setup for logged in users.
- Customizable Widget Gallery – show different widgets to different roles.
- Different column setup for different tabs.
- Build your own widgets using Silverlight, ASP.NET or plain Javascripts.
- Host widgets on any page of your website
- Easy to integrate Dropthings to your own website e.g. http://myoffice.bt.com is built on top of Dropthings.
- Highly decoupled architecture making good use of Inversion of Control, Dependency Injection.
- Business and Data Access Layer fully unit testable.
AWS
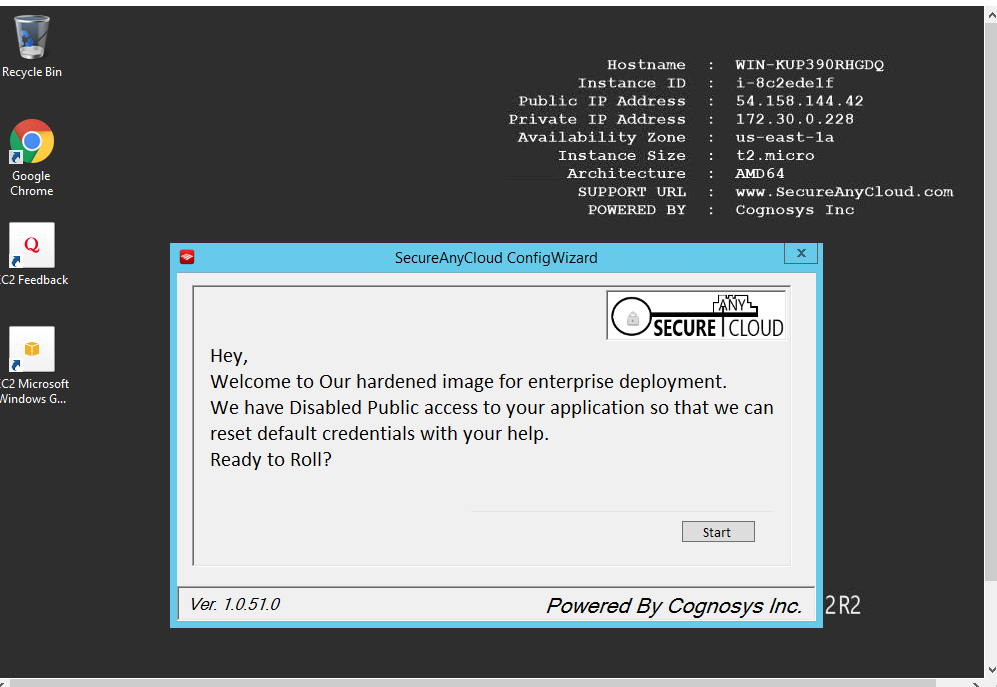
Installation Instructions For Windows
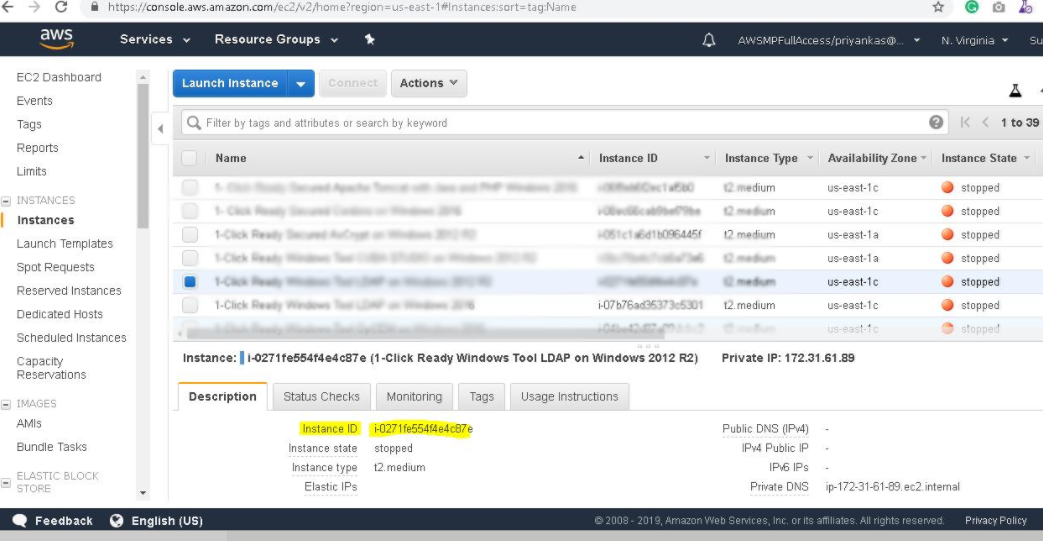
Note: How to find PublicDNS in AWS
Step 1) RDP Connection: To connect to the deployed instance, Please follow Instructions to Connect to Windows instance on AWS Cloud
1) Connect to virtual machine using following RDP credentials :
- Hostname: PublicDNS / IP of machine
- Port : 3389
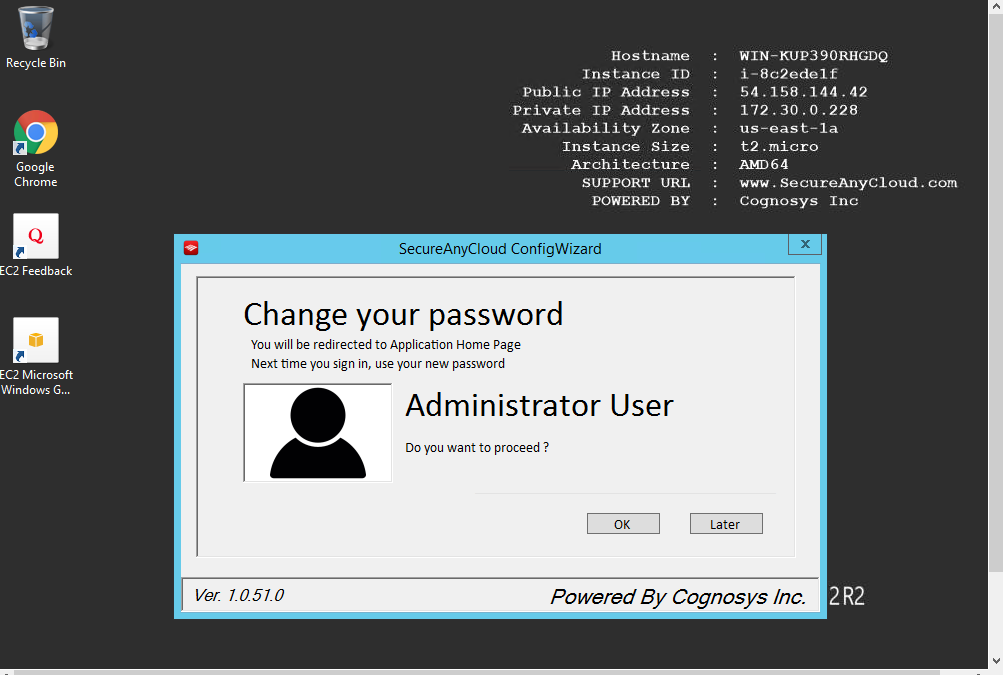
Username: To connect to the operating system, use RDP and the username is Administrator.
Password : Please Click here to know how to get password .
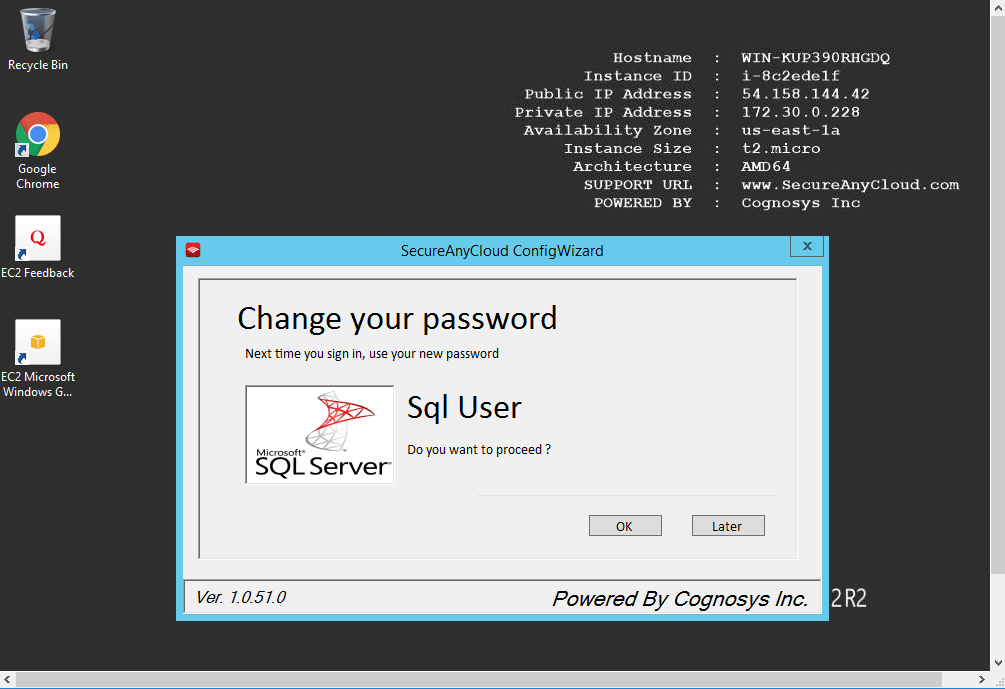
Step 2) Database Login Details :
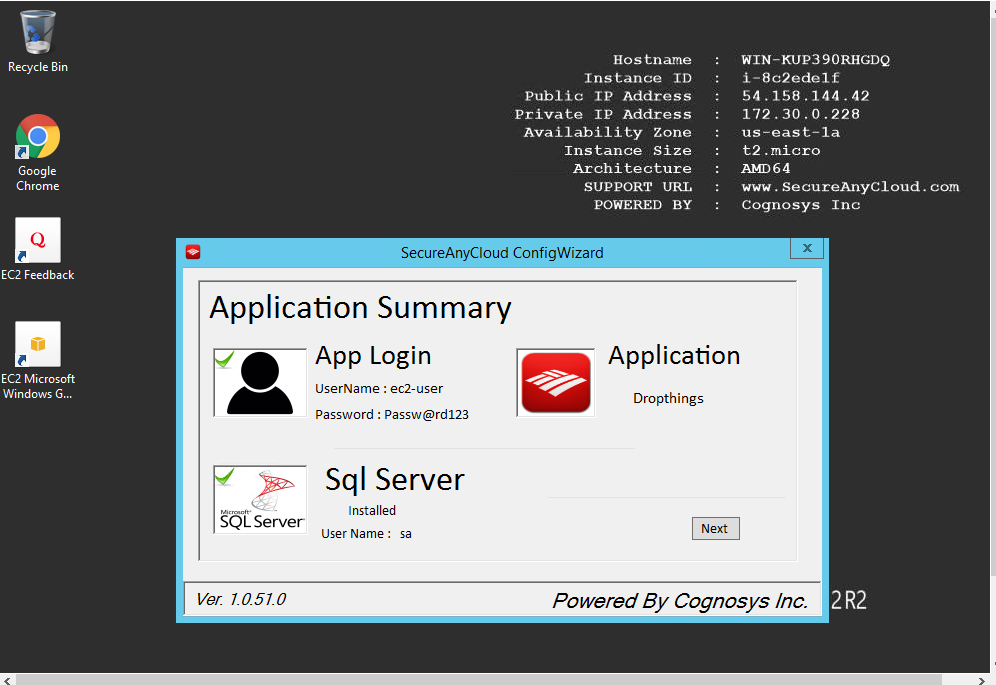
- SQL Username : sa
- SQL Password : Passw@rd123
Note :-Please change password immediately after first login.
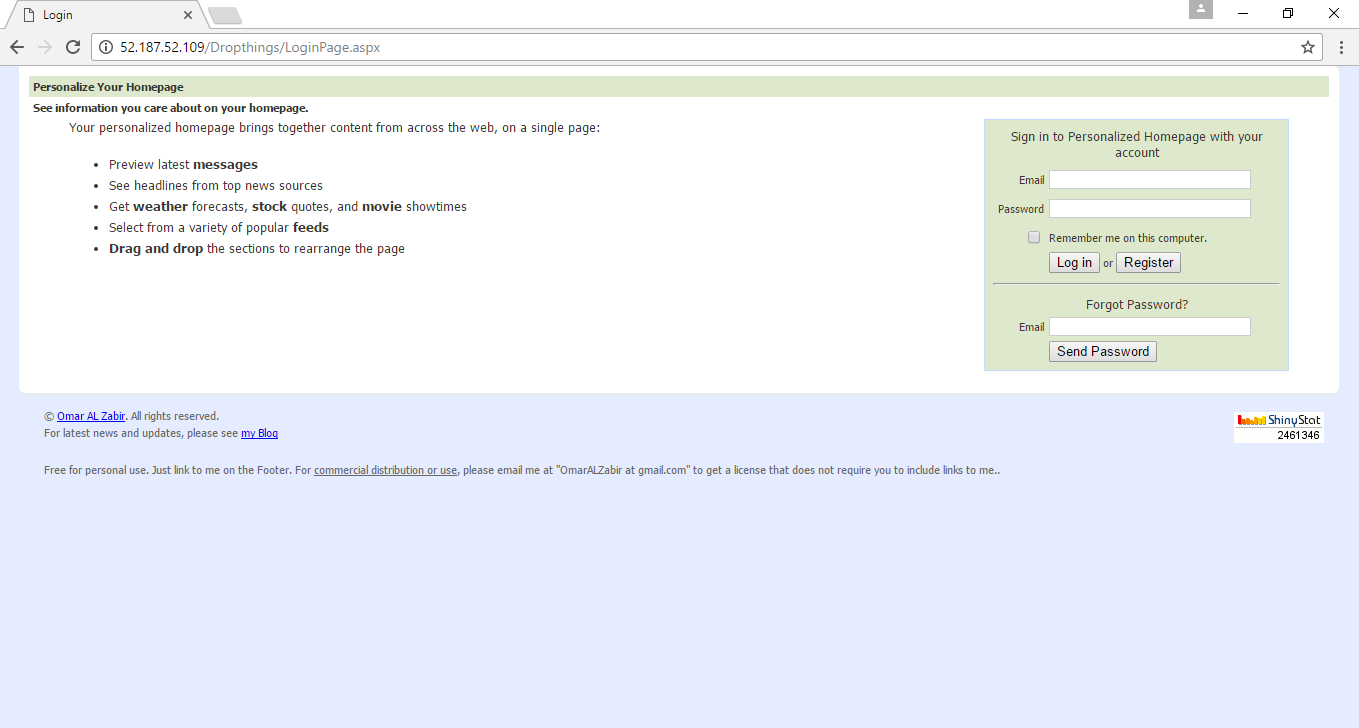
Step 3) Application URL: Access the application via a browser at http://PublicDNS/Dropthings
- User Name: ec2-user
- Password: Passw@rd123
Step 4) Other Information:
1.Default installation path: will be on your web root folder “C:\inetpub\wwwroot\Dropthings”
2.Default ports:
- Windows Machines: RDP Port – 3389
- Http: 80
- Https: 443
- Sql or Mysql ports: By default these are not open on Public Endpoints. Internally Sql server: 1433. Mysql :3306
Configure custom inbound and outbound rules using this link
AWS Step By Step Screenshots

Stack Name-This will be your Current stack

Azure
Installation Instructions For Windows
Note: How to find PublicDNS in Azure
Step1 ) RDP Connection: To connect to the deployed instance, Please follow Instructions to Connect to Windows instance on Azure Cloud
1) Connect to virtual machine using following RDP credentials :
- Hostname: PublicDNS / IP of machine
- Port : 3389
Username: Your chosen username when you created the machine ( For example: Azureuser)
Password : Your Chosen Password when you created the machine ( How to reset the password if you do not remember)
Step 2) Database Login Details :
- SQL Username : sa
- SQL Password : Passw@rd123
Step 3) Application URL: Access the application via a browser at http://PublicDNS/Dropthings
- User Name: admin@cogno-sys.com
- Password: Passw@rd123
Step 4) Other Information:
1.Default installation path: will be on your web root folder “C:\inetpub\wwwroot\Dropthings”
2.Default ports:
- Windows Machines: RDP Port – 3389
- Http: 80
- Https: 443
- Sql or Mysql ports: By default these are not open on Public Endpoints. Internally Sql server: 1433. Mysql :3306
Configure custom inbound and outbound rules using this link
Install it from Dropthings.
Azure Step by Step Screenshots


Installation Instructions For Windows
Step 1) VM Creation:
1.Click the Launch on Compute Engine button to choose the hardware and network settings.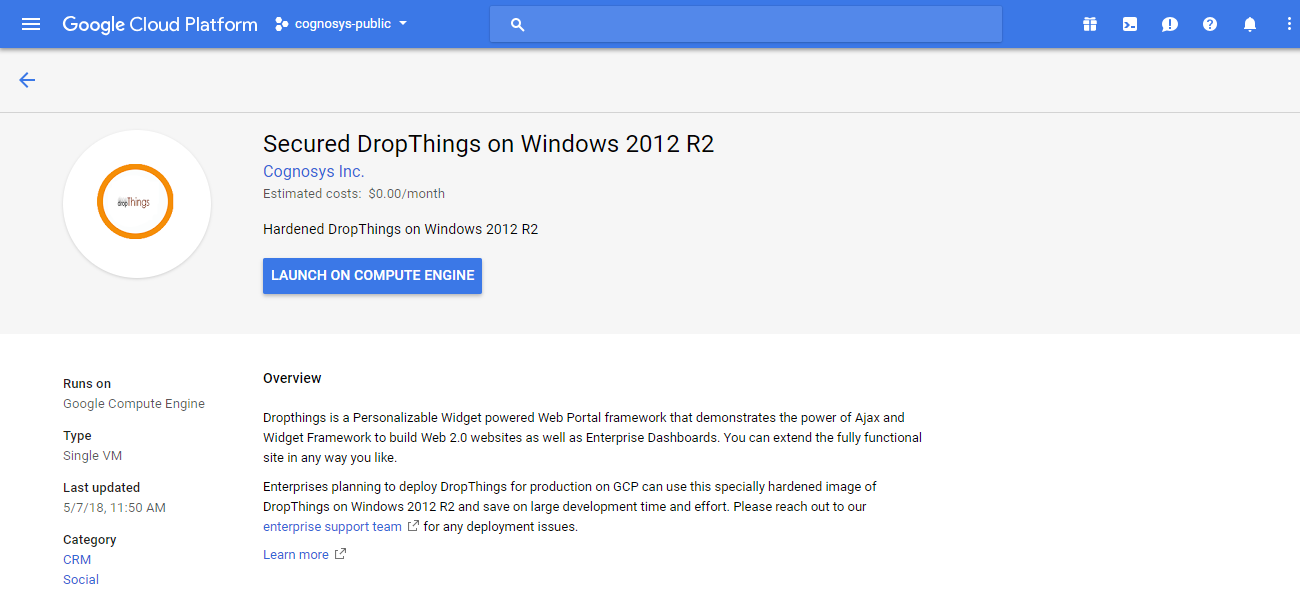
2.You can see at this page, an overview of Cognosys Image as well as some estimated costs of VM.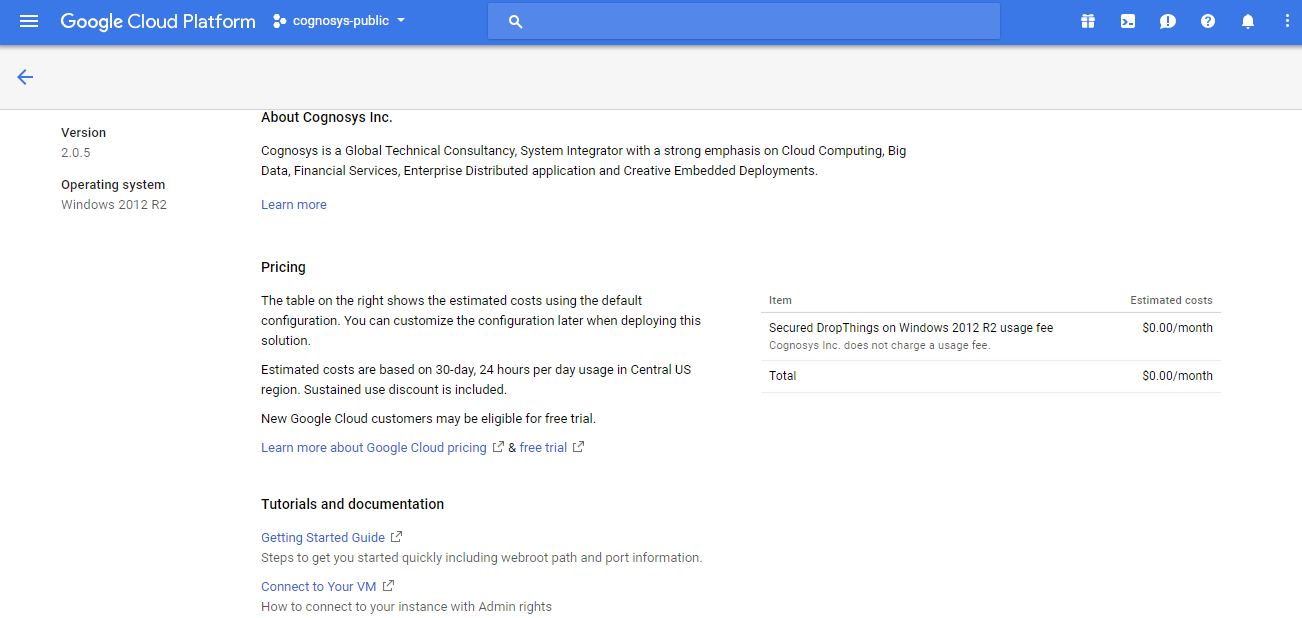
3.In the settings page, you can choose the number of CPUs and amount of RAM, the disk size and type etc.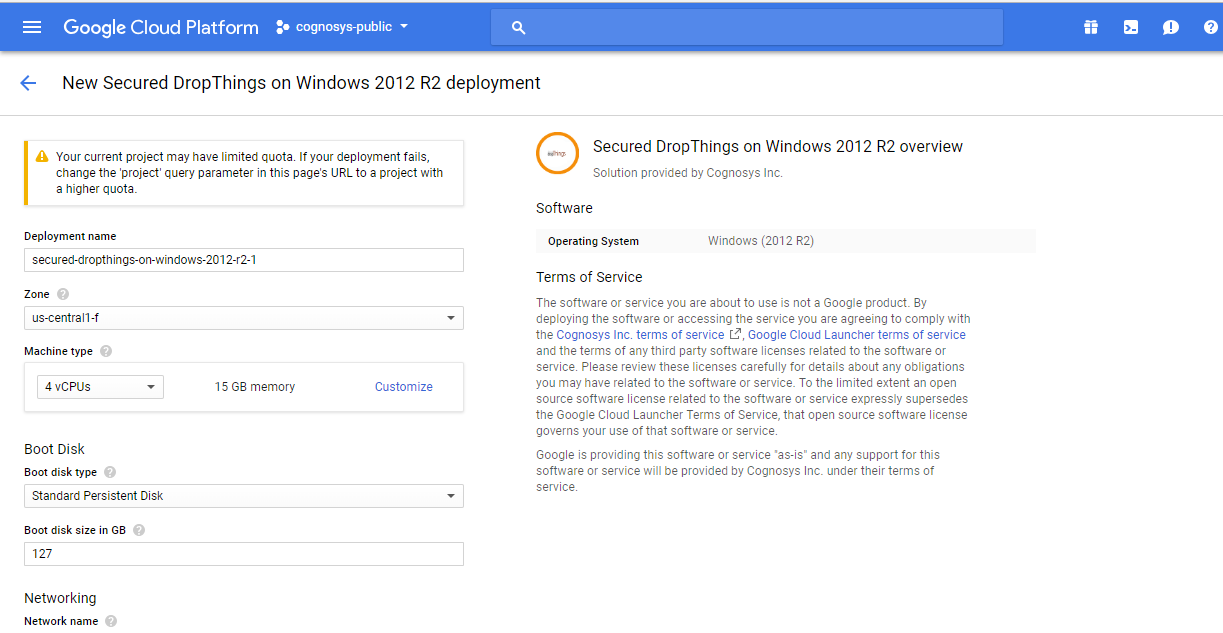
Step 2) RDP Connection: To initialize the DB Server connect to the deployed instance, Please follow Instructions to Connect to Windows instance on Google Cloud
Step 3) Database Credentials:
You can Login by below SQL Database credentials
SQL UserName : sa
The below screen appears after successful deployment of the image.
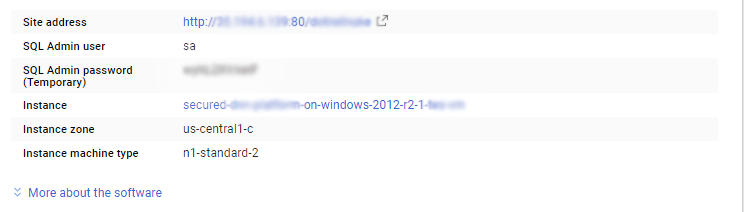
i) Please connect to Remote Desktop as given in step 2
ii) You can use SQL server instance as localhost. The SQL Server instance name to be used is “localhost” Connect to SQL Management Studio with username as sa and password provided in Custom Metadata.
If you have closed the deployment page you can also get the sa password from VM Details “Custom metadata” Section.
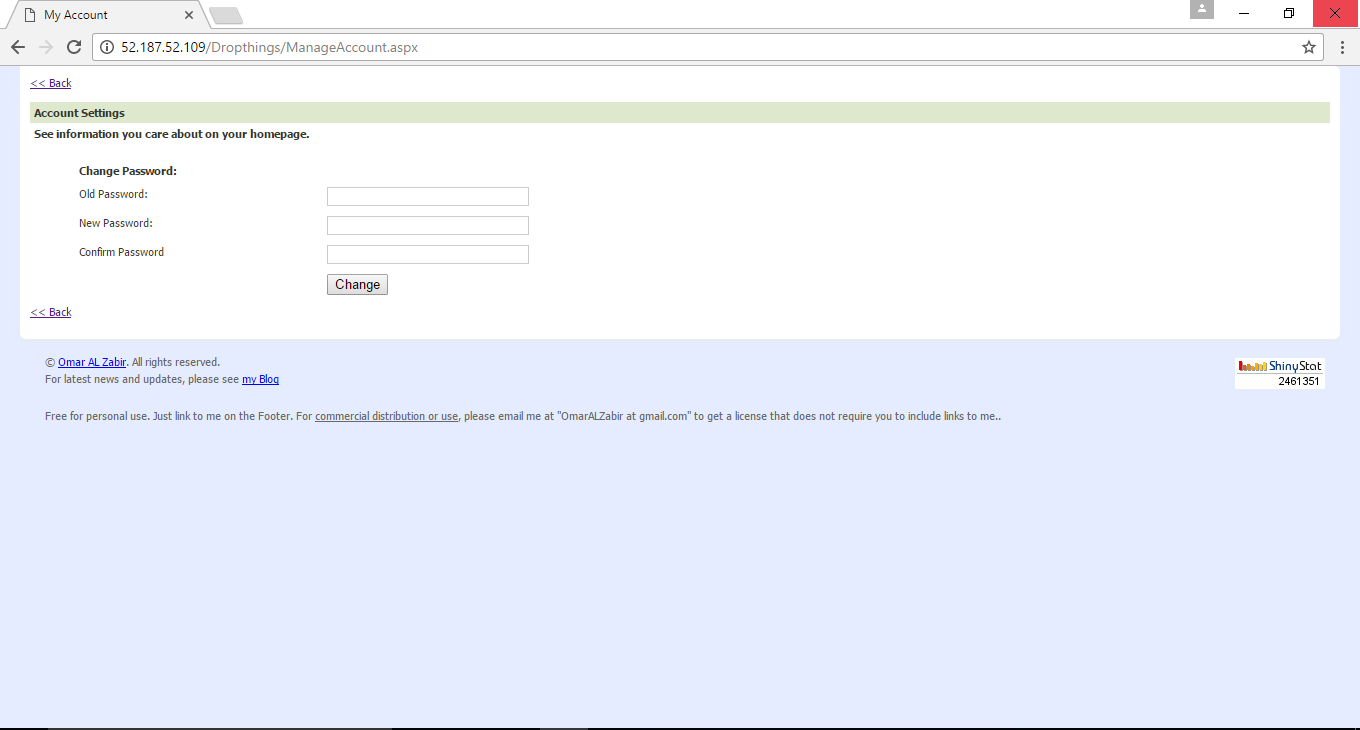
Step 4) Application URL: Access the application via a browser at http://PublicDNS/Dropthings
Step 5) Other Information:
1.Default installation path: will be on your web root folder “C:\inetpub\wwwroot\Dropthings”
2.Default ports:
- Windows Machines: RDP Port – 3389
- Http: 80
- Https: 443
- Sql or Mysql ports: By default these are not open on Public Endpoints. Internally Sql server: 1433. Mysql :3306
Videos
Secured Drop Things on Windows 2012 R2
Hosting
