
1-click AWS Deployment 1-click Azure Deployment 1-click Google Deployment
Overview
Acquia Drupal 7 is an open-source platform and content management system for building dynamic web sites offering a broad range of features and services including user administration, publishing workflow, discussion capabilities, news aggregation, metadata functionalities using controlled vocabularies and XML publishing for content sharing purposes.
Equipped with a powerful blend of features and configuration, Drupal can support a diverse range of web projects ranging from personal weblogs to large community-driven sites.
Acquia Drupal is owned by Acquia Drupal(https://www.drupal.org/) and they own all related trademarks and IP rights for this software.
Cognosys Provides Hardened images of Acquia Drupal 7 on the cloud ( AWS marketplace, Azure and Google Cloud Platform).
Deploy Acquia Drupal 7 securely on cloud i.e. AWS marketplace, Azure and Google Cloud Platform (GCP)
Drupal is free, open, and available to anyone under the GNU/GPL license.
Secured Acquia Drupal 7 on Windows 2012 R2
Secured Acquia Drupal on Ubuntu 14.04 LTS
Acquia Drupal on CentOS 7.3
Acquia Drupal 7 on Cloud for Azure
Features
Major Features of Acquia Drupal 7
- Collaborative Book
- Friendly URLs
- Modules
- Online help
- Open source
- Personalization
- Role based permission system
- Searching
- User management
- Polls
- Templating
- Threaded comments
- Version control
- Blogger API support
- Content syndication
- News aggregator
- Permalinks
- Analysis, Tracking and Statistics
- Logging and Reporting
- Web based administration
- Discussion forums
- Caching
AWS
Installation Instructions For Windows
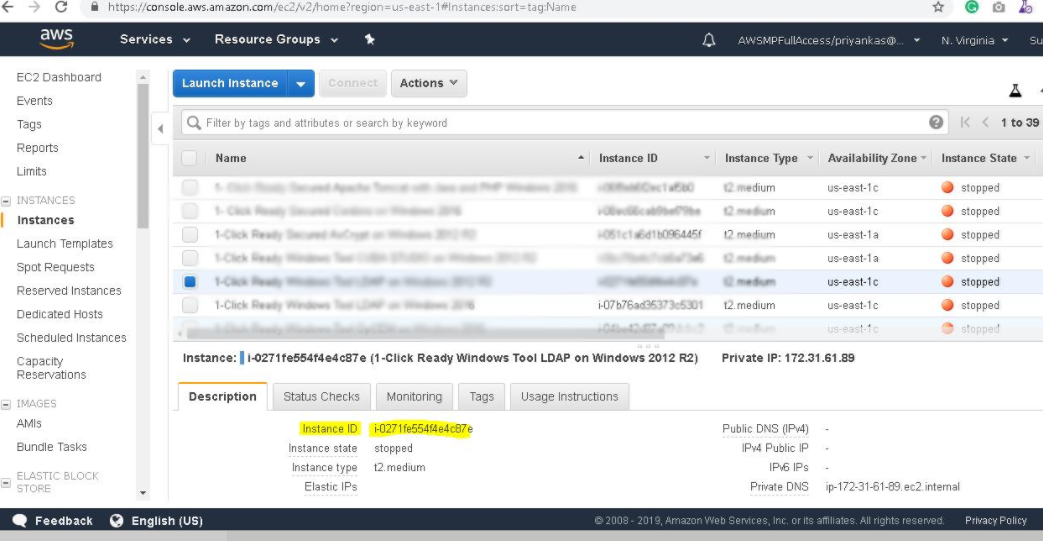
Note: How to find PublicDNS in AWS
Step 1) RDP Connection: To connect to the deployed instance, Please follow Instructions to Connect to Windows instance on AWS Cloud
Connect to the virtual machine using following RDP credentials:
- Hostname: PublicDNS / IP of machine
- Port : 3389
Username: To connect to the operating system, use RDP and the username is Administrator.
Password: Please Click here to know how to get password .
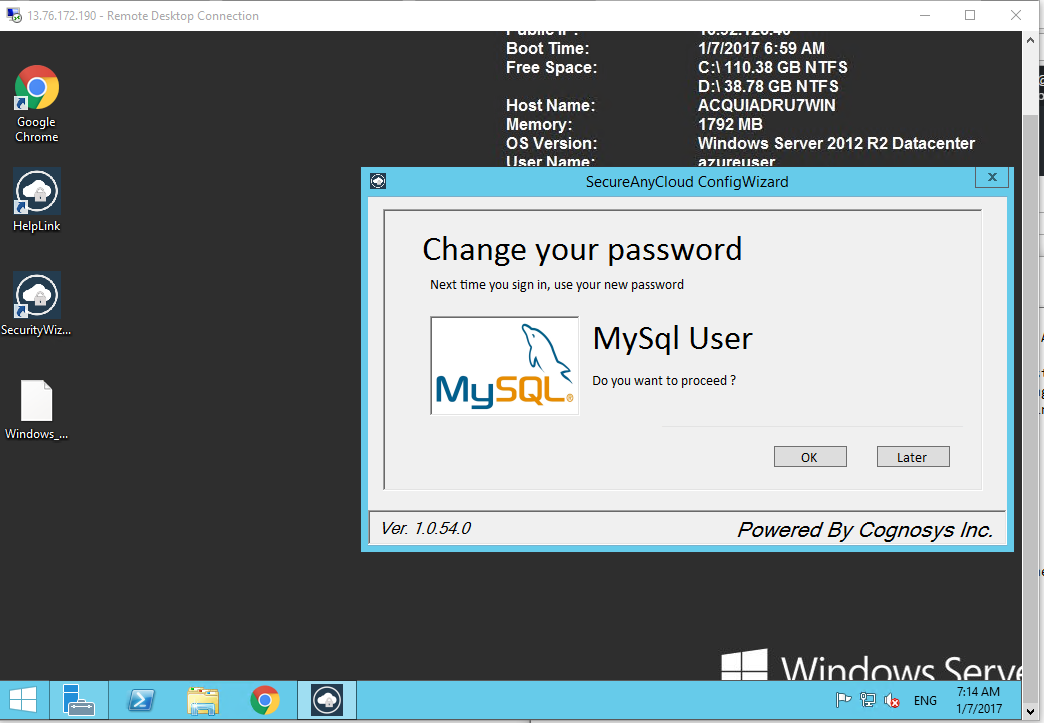
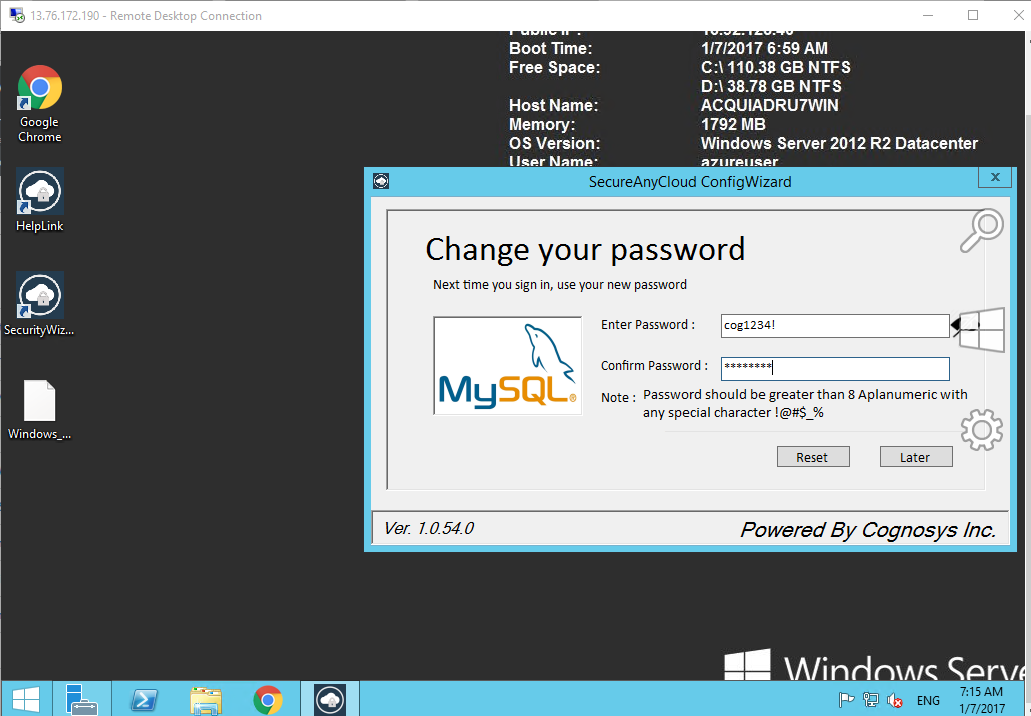
Step 2) Database Login Details:
Username : root || Password : Passw@rd123
Please change the password immediately after the first login.
Step 3 ) Application URL: Access the application via a browser at http://PublicDNS/Acquiadrupal
- Username: ec2-user
- Passward: Passw@rd123
Step 4 ) Steps to access the Admin Panel:
- To login to Acquia Drupal Administrative Panel, you need
to open your browser and navigate to http://PublicDNS/Acquiadrupal/admin - Enter username and password in the given fields and click on the“Login”button to access the Admin Panel.
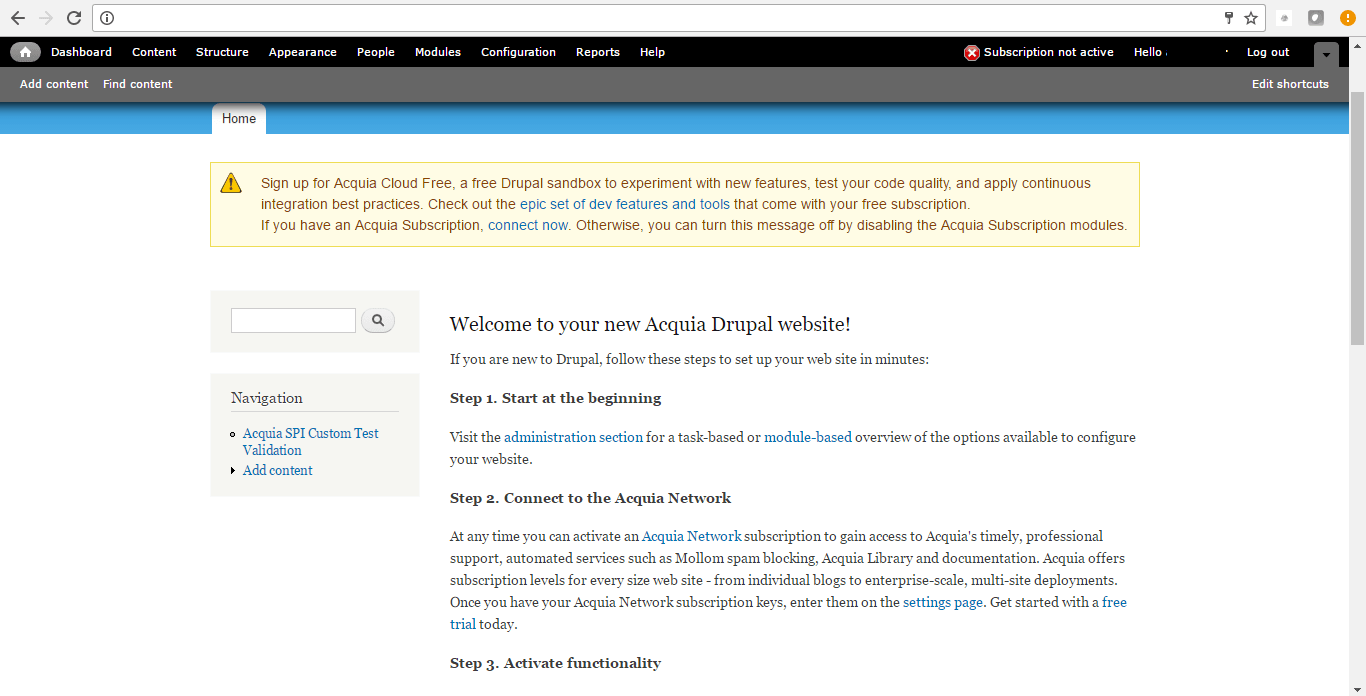
- After successful login to the Admin Panel, you will get access to Acquia Drupal Dashboard.
Step 5 ) Other Information:
1.Default installation path: will be on your web root folder “C:\inetpub\wwwroot\acquiadrupal”
2.Default ports:
- Windows Machines: RDP Port – 3389
- Http: 80
- Https: 443
- MYSQL ports: By default these are not open on Public Endpoints.MYSQL : 3306
Configure custom inbound and outbound rules using this link
Azure
- Installation Instructions For Ubuntu
- Installation Instructions For Windows
- Installation Instructions For Centos
Installation Instructions For Ubuntu
Note : How to find PublicDNS in Azure
Step 1) SSH Connection: To connect to the deployed instance, Please follow Instructions to Connect to Ubuntu instance on Azure Cloud
1) Download Putty.
2) Connect to virtual machine using following SSH credentials :
- Hostname: PublicDNS / IP of machine
- Port : 22
Username: Your chosen username when you created the machine ( For example: Azureuser)
Password : Your Chosen Password when you created the machine ( How to reset the password if you do not remember)
Step 2) Database Login Details :
- MYSQL Username : root
- MYSQL Password : Passw@rd123
For Stack Database: Below Database has already been created
MySQL DB acquiadrupal with user acquiadrupaluser and password Passw@rd123
Please use this MySQL database for your Stack Configuration.

Step 3) Other Information:
Note : Please do the initial Acquia Drupal setup with http://YourIP/
1. Default installation path: will be on your web root folder “/var/www/html/”
2. Default ports:
-
- Linux Machines: SSH Port – 22
- Http: 80
- Https: 443
- MYSQL ports: By default these are not open on Public Endpoints. MYSQL : 3306
Configure custom inbound and outbound rules using this link
3. To access Webmin interface for management please follow this link
Installation Instructions for Windows
Note :How to find PublicDNS in Azure
Step1 ) RDP Connection: To connect to the deployed instance, Please follow Instructions to Connect to Windows instance on Azure Cloud
1) Connect to virtual machine using following RDP credentials :
- Hostname: PublicDNS / IP of machine
- Port : 3389
Username: Your chosen username when you created the machine ( For example: Azureuser)
Password : Your Chosen Password when you created the machine ( How to reset the password if you do not remember)
Step 2) Database Login Details:
- MYSQL Username : root || MYSQL Password : Passw@rd123
Step 3) Application URL: Access the application via a browser at http://PublicDNS
Step 4) Other Information:
1. Default installation path: will be on your web root folder “C:\inetpub\wwwroot\AcquiaDrupal”
2. Default ports:
- Windows Machines: RDP Port – 3389
- Http: 80
- Https: 443
- MYSQL ports: By default these are not open on Public Endpoints. MYSQL : 3306
Configure custom inbound and outbound rules using this link
Installation Instructions For Centos
Note : How to find PublicDNS in Azure
Step 1) SSH Connection: To connect to the deployed instance, Please follow Instructions to Connect to Centos instance on Azure Cloud
1) Download Putty.
2) Connect to virtual machine using following SSH credentials :
- Hostname: PublicDNS / IP of machine
- Port : 22
Username: Your chosen username when you created the machine ( For example: Azureuser)
Password : Your Chosen Password when you created the machine ( How to reset the password if you do not remember)
Step 2) Database Login Details :
- MYSQL Username : root
- MYSQL Password : Passw@rd123
For Stack Database: Below Database has already been created
MySQL DB acquiadrupal with user acquiadrupaluser and password Passw@rd123
Please use this MySQL database for your Stack Configuration.
Step 3) Other Information:
Note: Please do the initial Acquia Drupal setup with http://YourIP/
1. Default installation path: will be in your web root folder “/var/www/html/”
2. Default ports:
- Linux Machines: SSH Port – 22
- Http: 80
- Https: 443
- MYSQL ports: By default these are not open on Public Endpoints. MYSQL : 3306
Configure custom inbound and outbound rules using this link
3. To access Webmin interface for management please follow this link
Azure Step by Step Screenshots


- Installation Instructions For Windows
- Installation Instructions For Ubuntu
- Installation Instructions For Redhat
Installation Instructions For Windows
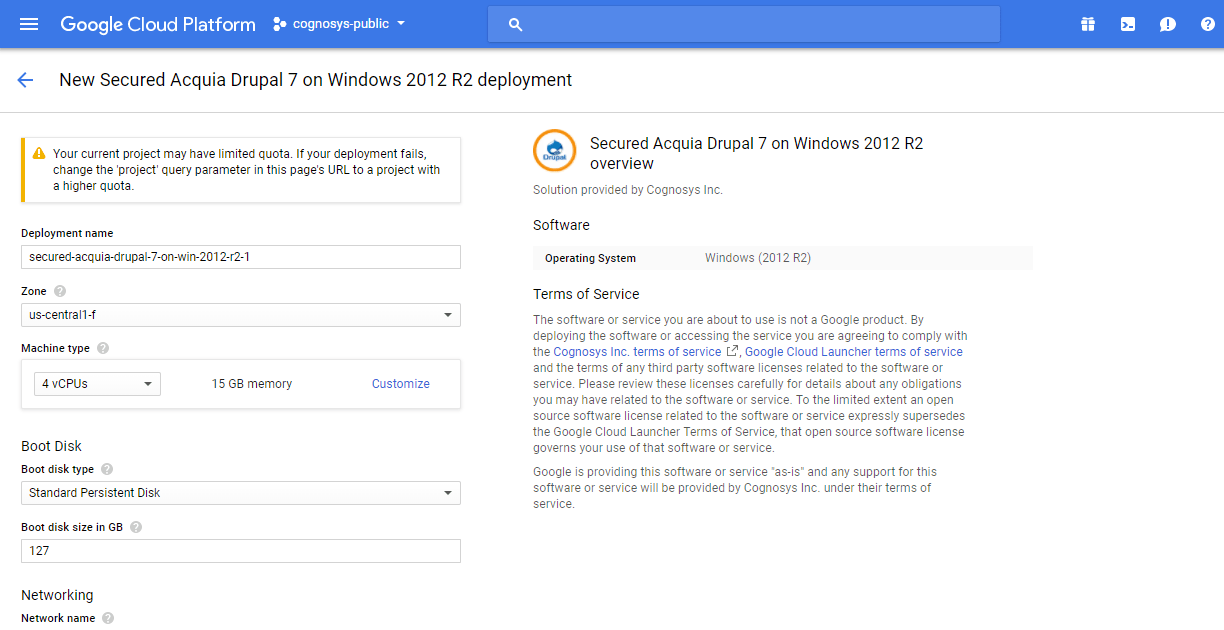
Step 1) VM Creation:
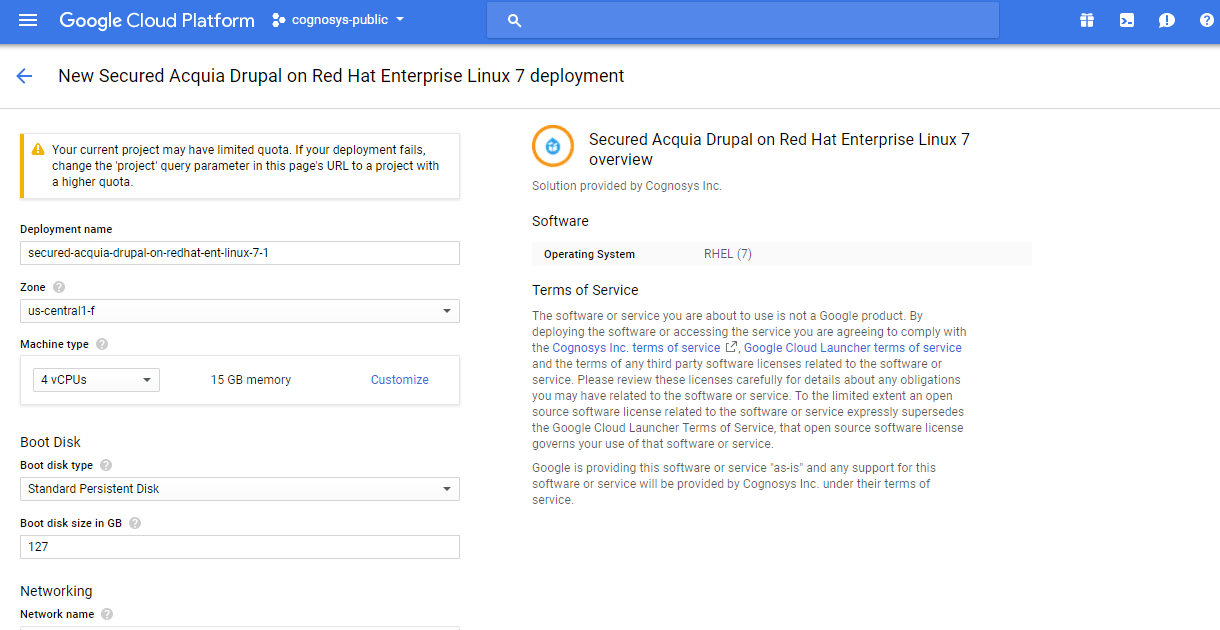
1.Click the Launch on Compute Engine button to choose the hardware and network settings.
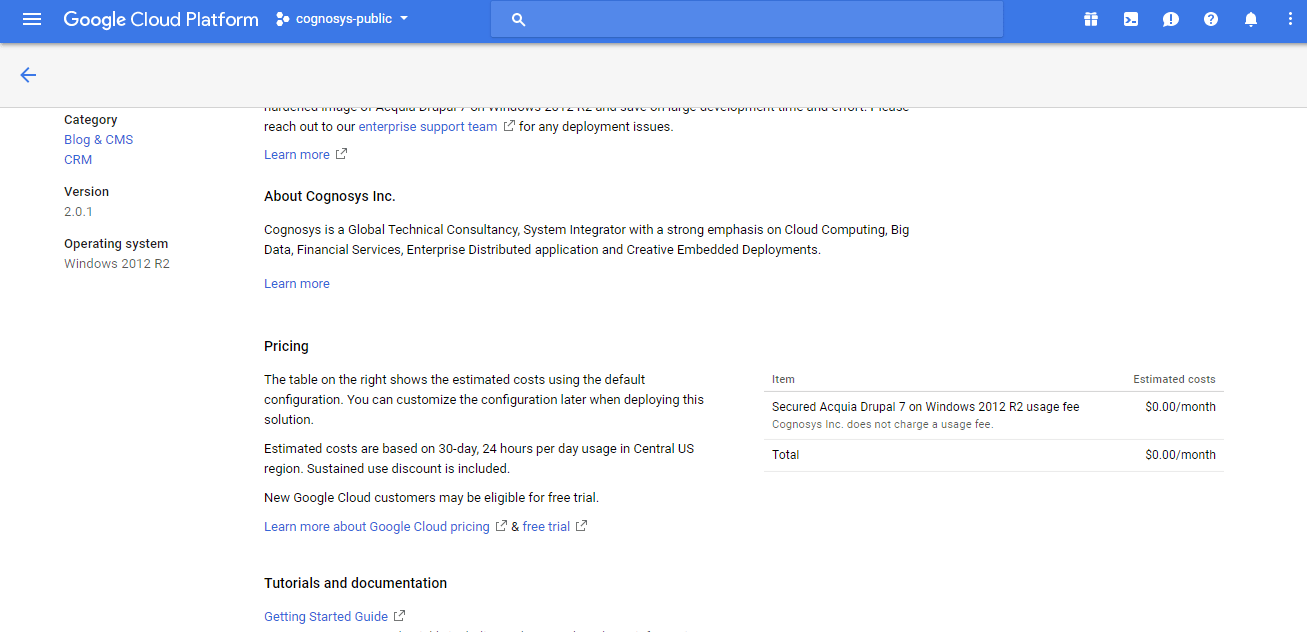
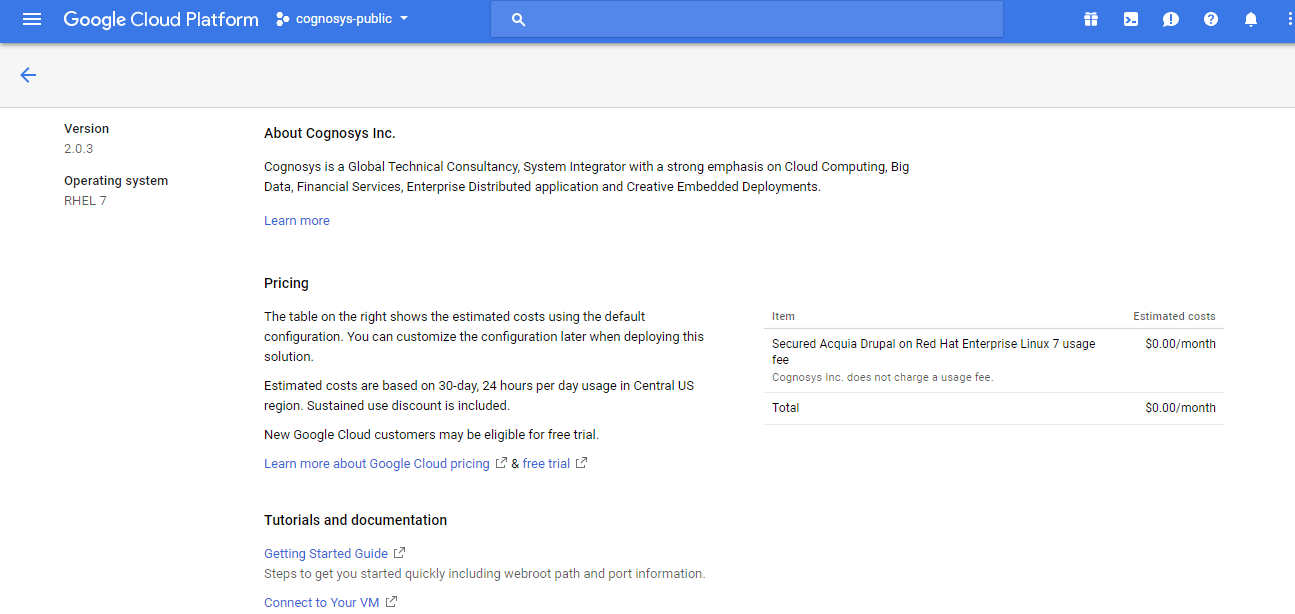
2.You can see at this page, an overview of Cognosys Image as well as some estimated costs of VM.
3.In the settings page, you can choose the number of CPUs and amount of RAM, the disk size and type etc.
Step 2) RDP Connection: To initialize the DB Server connect to the deployed instance, Please follow Instructions to Connect to Windows instance on Google Cloud
Step 3) Database Login Details:
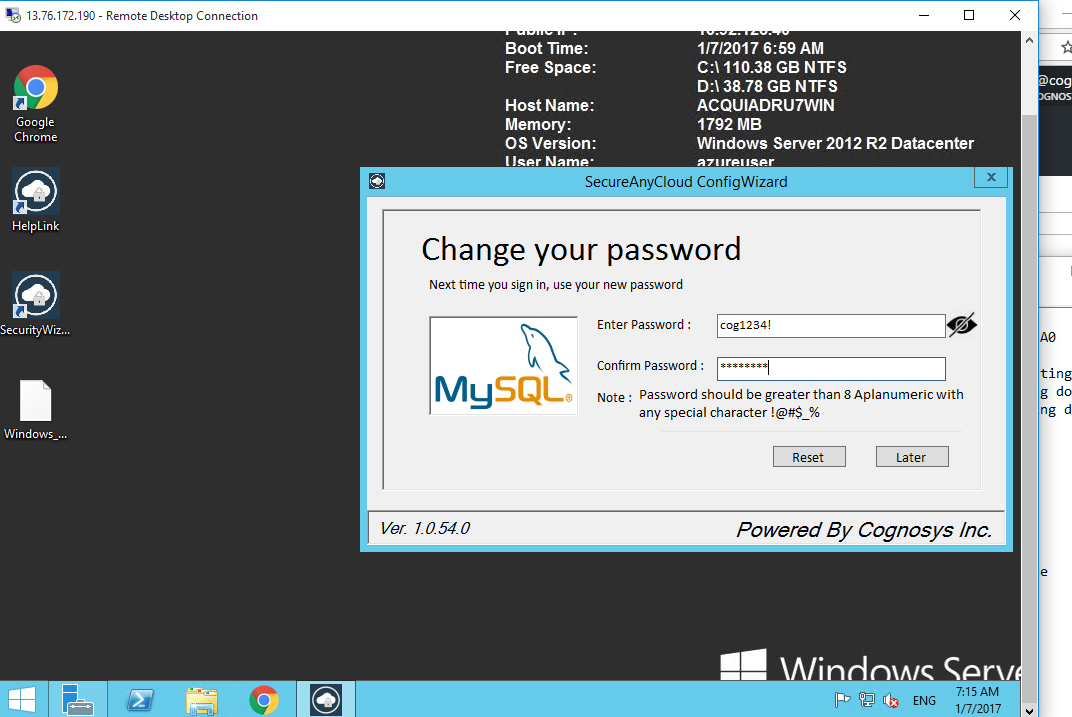
The below screen appears after successful deployment of the image.

For local MySQL root password, please use the temporary password generated automatically during image creation as shown above.
i) Please connect to Remote Desktop as given in step 2 to ensure stack is properly configured and DB is initialized.
ii) You can use MySQL server instance as localhost, username root and password as shown above.
If you have closed the deployment page you can also get the MySQL root password from VM Details “Custom metadata” Section
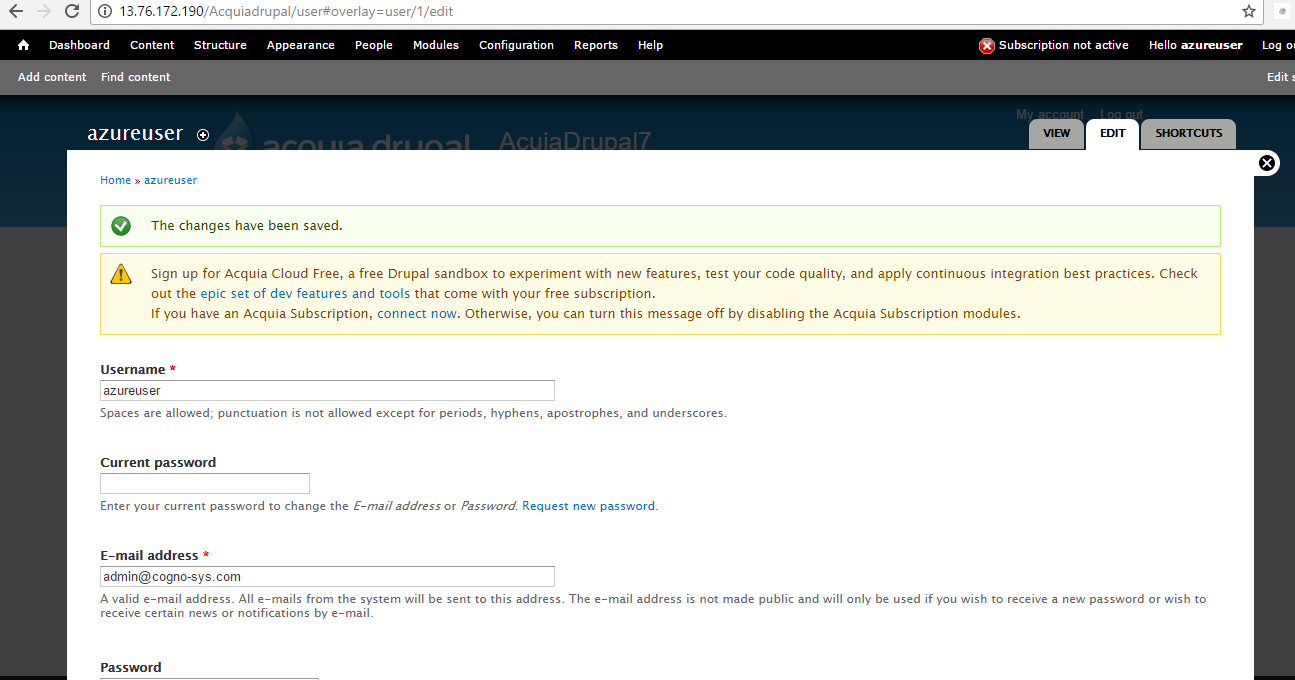
Step 4 ) Steps to access the Admin Panel:
- To login to Acquia Drupal Administrative Panel, you need
to open your browser and navigate to http://PublicDNS/Acquiadrupal/admin - Enter username and password in the given fields and click on the“Login”button to access the Admin Panel.
- After successful login to the Admin Panel, you will get access to Acquia Drupal Dashboard.
Step 5 ) Other Information:
1.Default installation path: will be on your web root folder “C:\inetpub\wwwroot\acquiadrupal”
2.Default ports:
- Windows Machines: RDP Port – 3389
- Http: 80
- Https: 443
- MYSQL ports: By default these are not open on Public Endpoints.MYSQL : 3306
Installation Instructions For Ubuntu
Step 1) VM Creation:
- Click the Launch on Compute Engine button to choose the hardware and network settings.
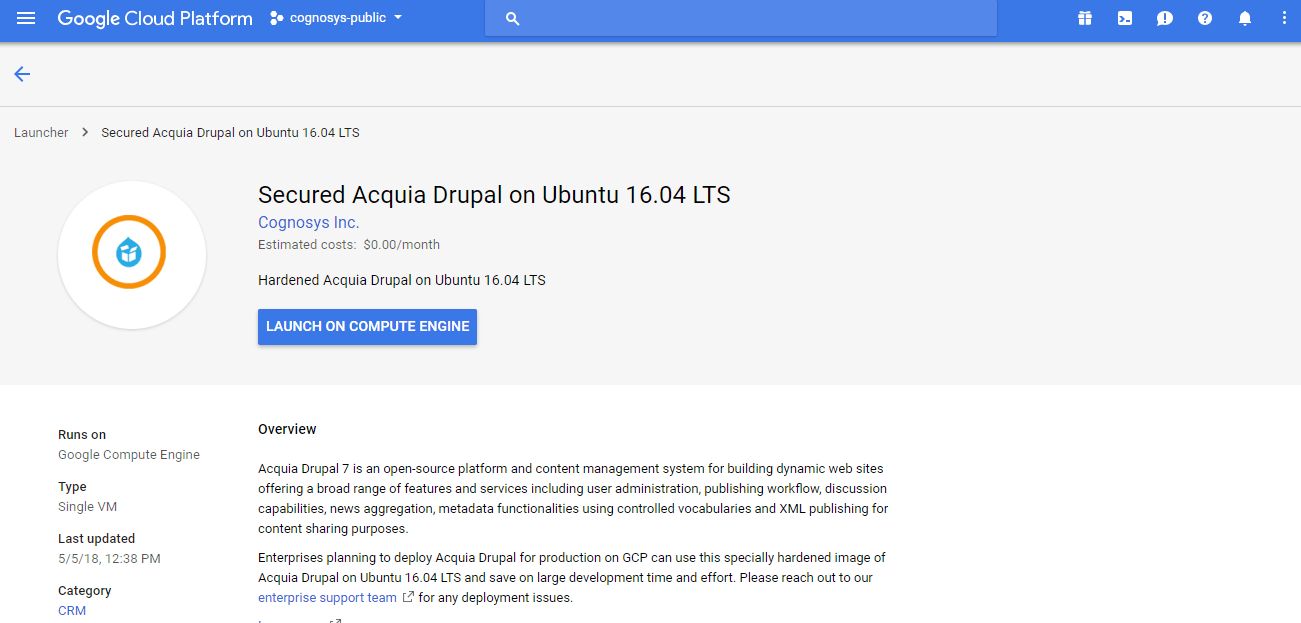

- You can see at this page, an overview of Cognosys Image as well as some estimated costs of VM.


- In the settings page, you can choose the number of CPUs and amount of RAM, the disk size and type etc.


Step 2) SSH Connection: To connect to the deployed instance, Please follow Instructions to Connect to Ubuntu instance on Google Cloud
1) Download Putty.
2) Connect to the virtual machine using SSH key
- Hostname: PublicDNS / IP of machine
- Port : 22
Step 3) Database Login Details:
The below screen appears after successful deployment of the image.
For local MySQL root password, please use the temporary password generated automatically during image creation as shown above.
i) Please connect to Remote Desktop as given in step 2 to ensure stack is properly configured and DB is initialized.
ii) You can use MySQL server instance as localhost, username root and password as shown above.
If you have closed the deployment page you can also get the MySQL root password from VM Details “Custom metadata” Section
Step 4) Other Information:
1.Default ports:
- Linux Machines: SSH Port – 22
- MYSQL ports: By default these are not open on Public Endpoints.MYSQL : 3306
2. To access Webmin interface for management please follow this link
Step 5) Steps to access the Admin Panel:
- To login to Acquia Drupal Administrative Panel, you need
to open your browser and navigate to http://PublicDNS/Acquiadrupal/admin - Enter username and password in the given fields and click on the“Login”button to access the Admin Panel.
- After successful login to the Admin Panel, you will get access to Acquia Drupal Dashboard.

Installation Instructions For Redhat
Step 1) VM Creation:
- Click the Launch on Compute Engine button to choose the hardware and network settings.
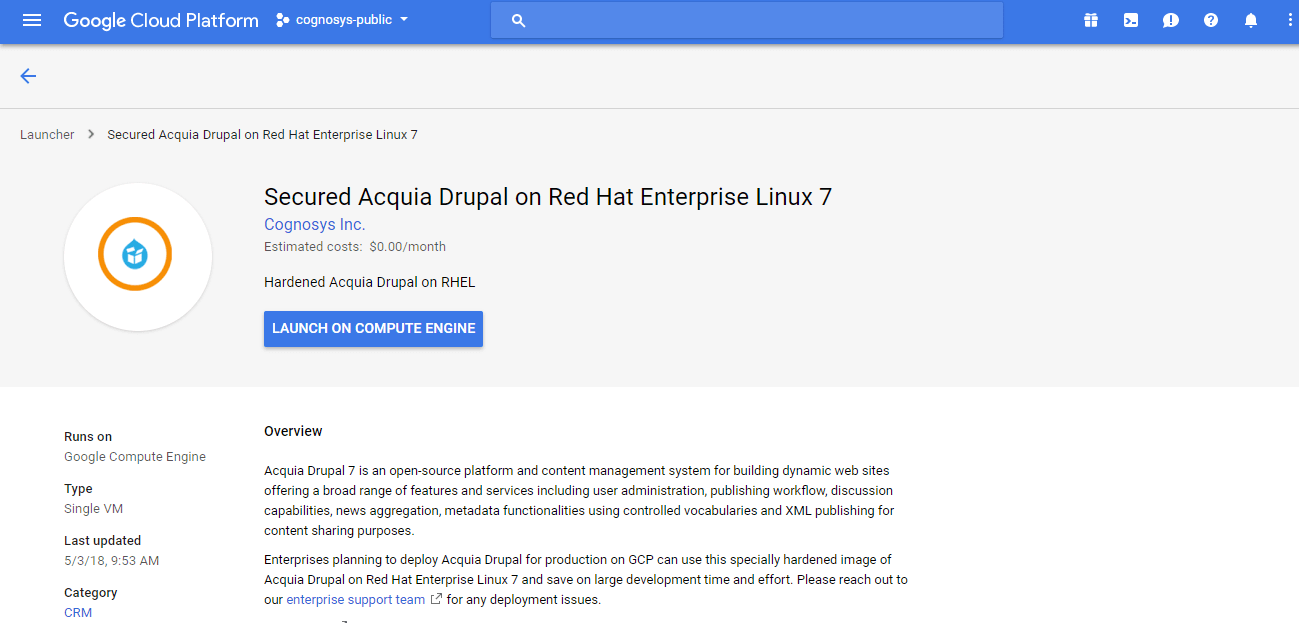
2.You can see at this page, an overview of Cognosys Image as well as some estimated costs of VM.
3.In the settings page, you can choose the number of CPUs and amount of RAM, the disk size and type etc.
Step 2) SSH Connection: To connect to the deployed instance, Please follow Instructions to Connect to Ubuntu instance on Google Cloud
1) Download Putty.
2) Connect to the virtual machine using SSH key
- Hostname: PublicDNS / IP of machine
- Port : 22
Step 3) Database Login Details:
The below screen appears after successful deployment of the image.
For local MySQL root password, please use the temporary password generated automatically during image creation as shown above.
i) Please connect to Remote Desktop as given in step 2 to ensure stack is properly configured and DB is initialized.
ii) You can use MySQL server instance as localhost, username root and password as shown above.
If you have closed the deployment page you can also get the MySQL root password from VM Details “Custom metadata” Section
Step 4) Application URL: Access the application via a browser at http://<yourip>/Acquia Drupal
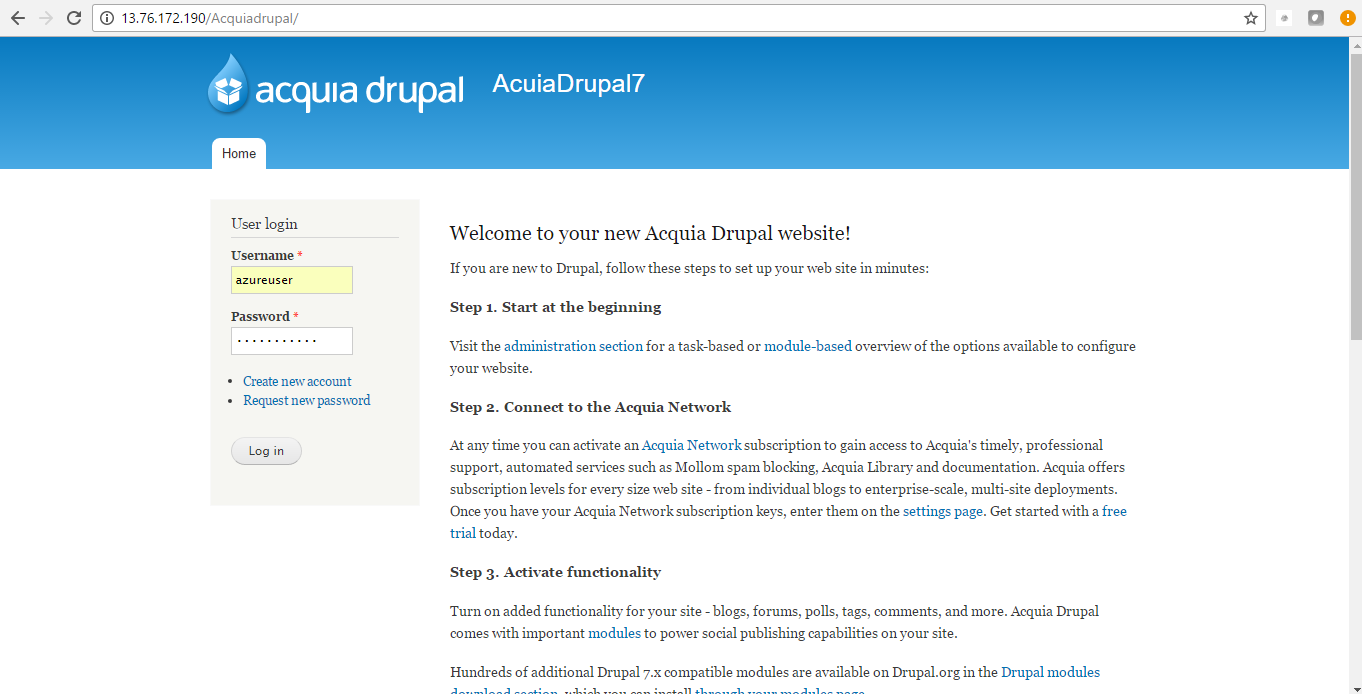
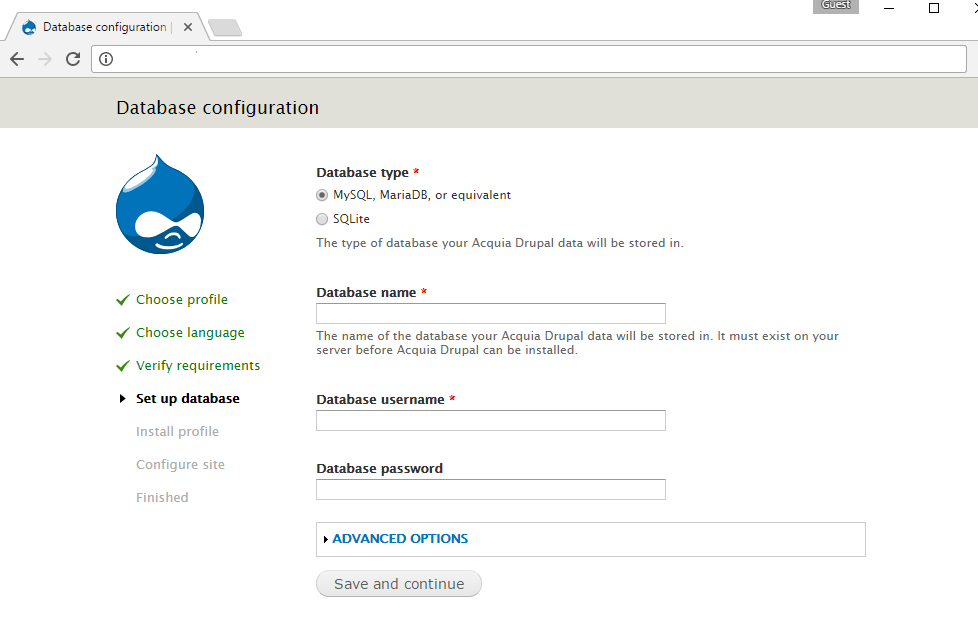
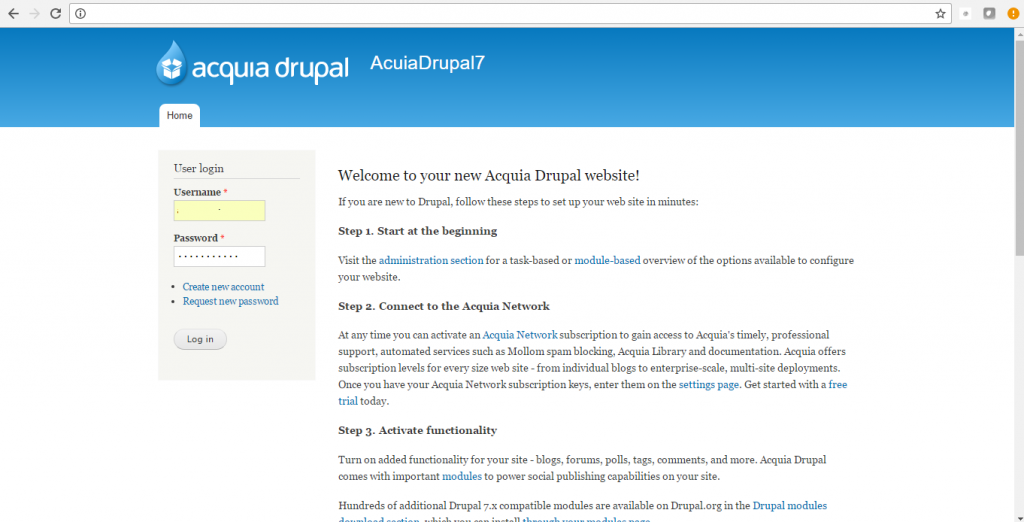
A) You will see the page where you can configure your site data with site name, Acquia Drupal admin name etc.
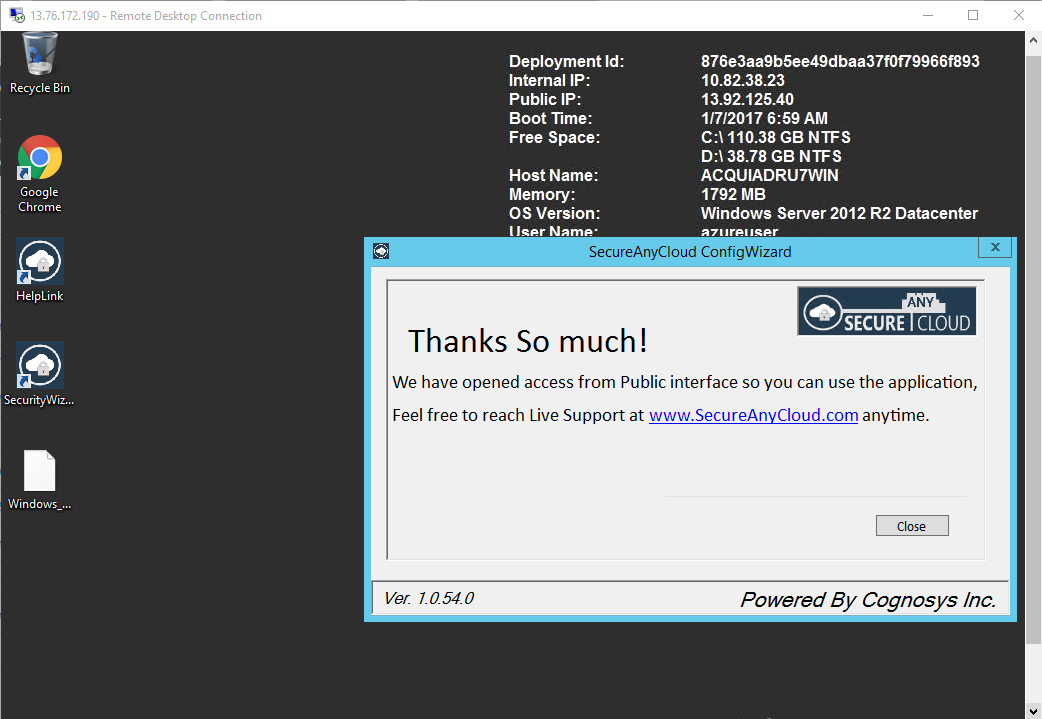
B) On next page you will see configuration success message.
C) You can login to the Acquia Drupal admin portal with the Acquia Drupal username and its generated password from point A shown above.
D) You can access the configured site at http://yourIP/Acquia Drupal
Step 5) Other Information:
1.Default ports:
- Linux Machines: SSH Port – 22
2. To access Webmin interface for management please follow this link
Videos
Secured Acquia Drupal 7 on Windows 2012 R2
Secured Acquia Drupal on Ubuntu 14.04 LTS
Acquia Drupal on CentOS 7.3
Acquia Drupal 8
Installing Drupal On A Localhost
